I found this old Tutorial, it was all together in pictures so I thought I would share it with you. Some of you might have seen it, especially if you have been to one of my early Workshops but most probably haven’t. If you like it and want more tutorial, please follow my Blog. Its a fairly new Blog and needs followers!
So, after looking through some original (that means Old) photos of my early Crafting/Teaching Days I found a few Tutorials that I always intended to share once I had stopped teaching them. Well I stopped teaching this one a long time ago but I still love using this process. So here we go……..
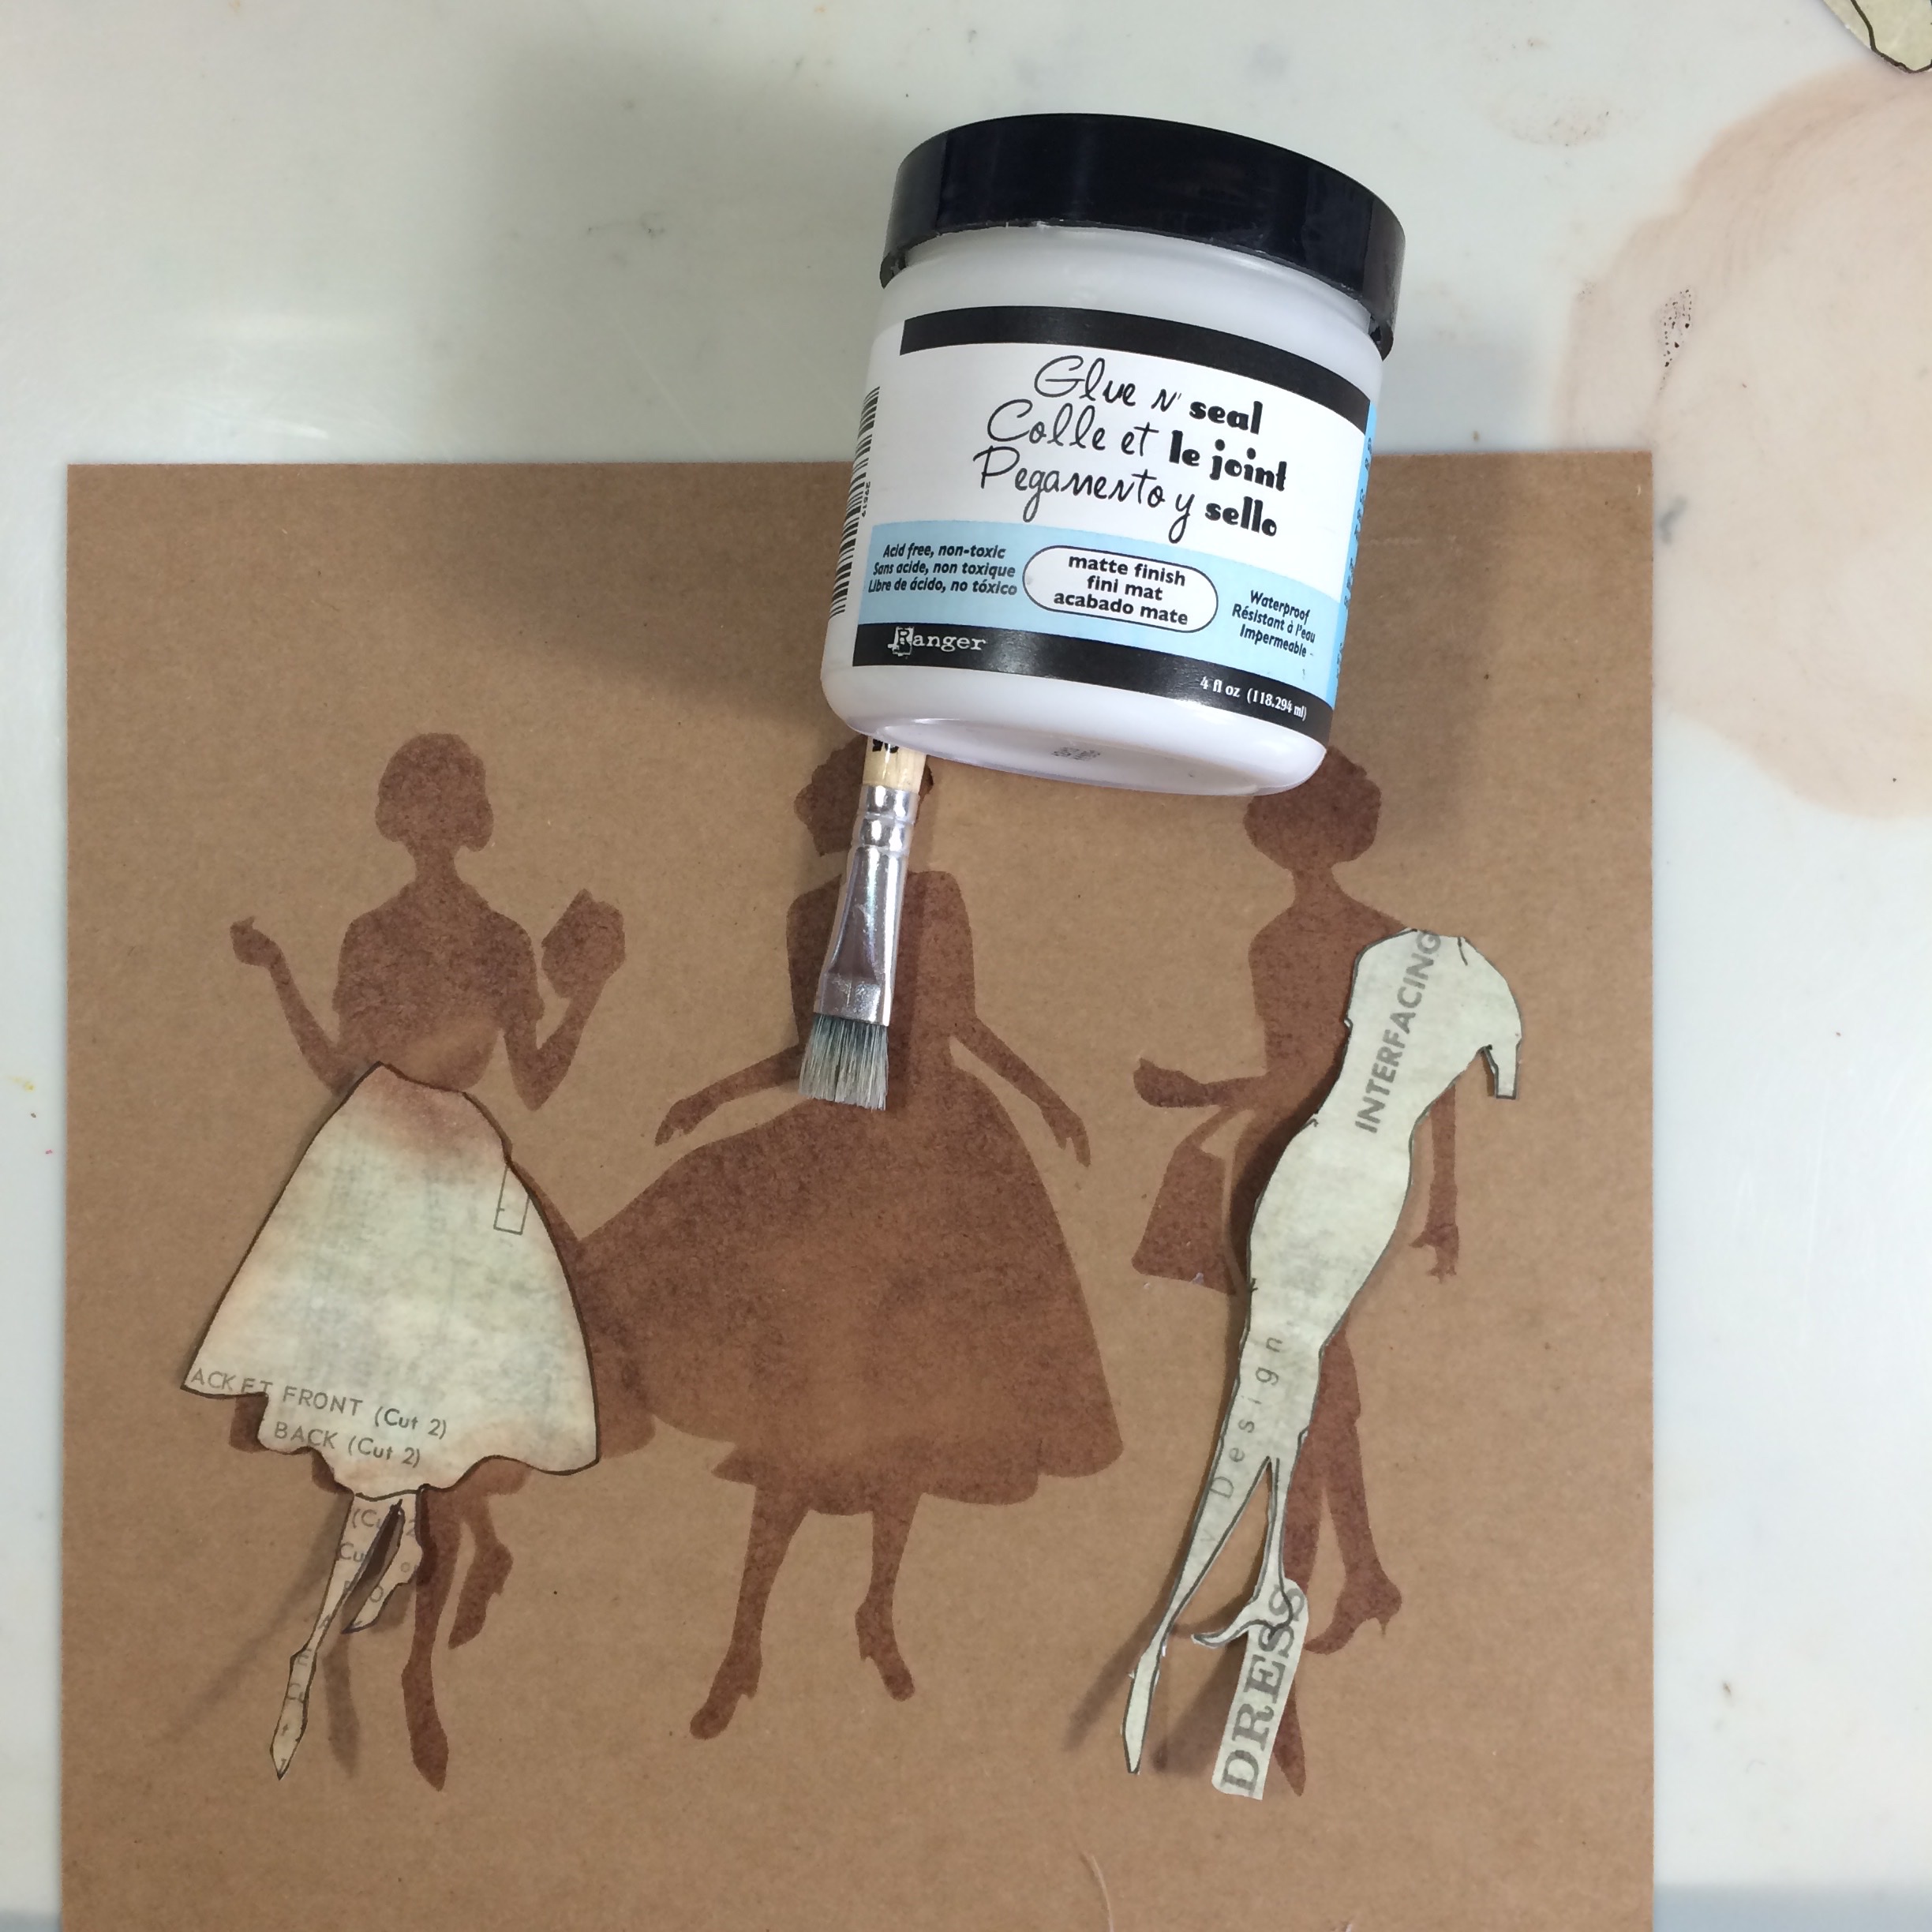
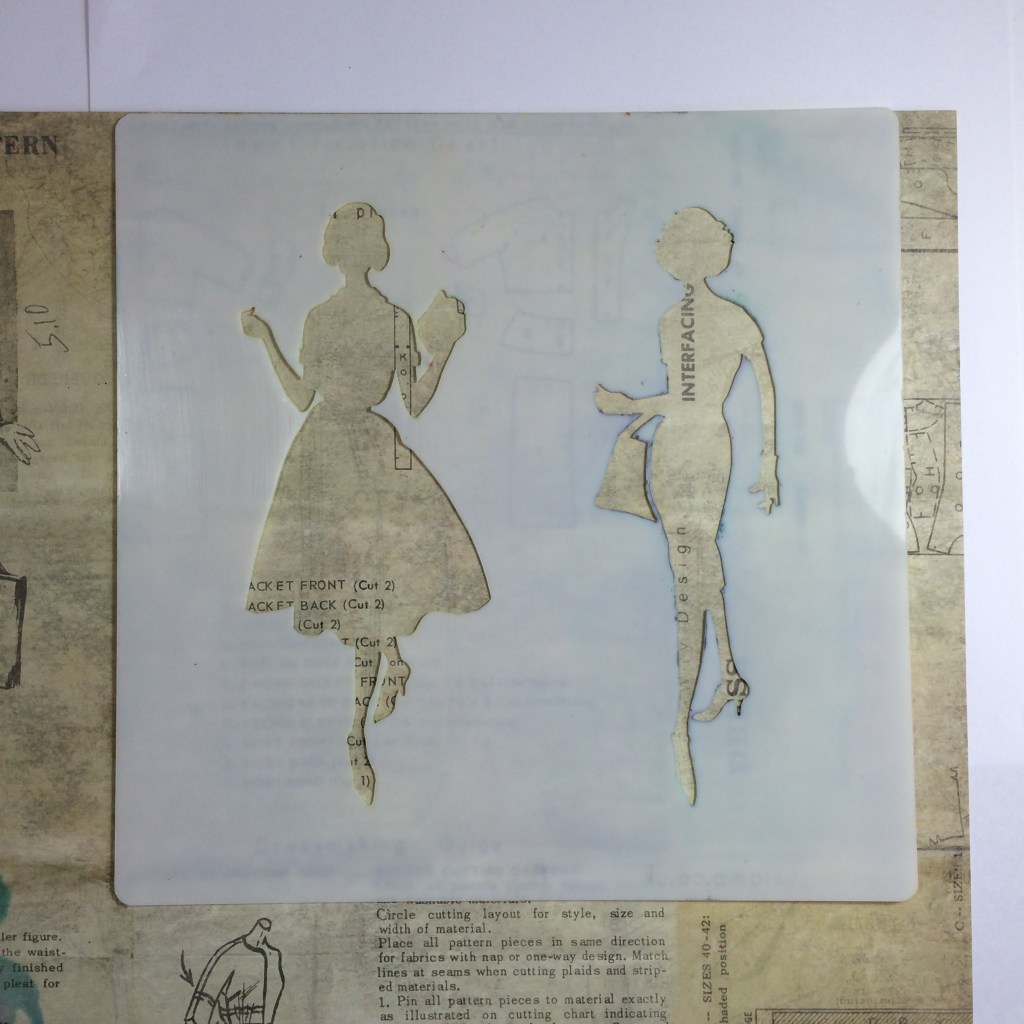
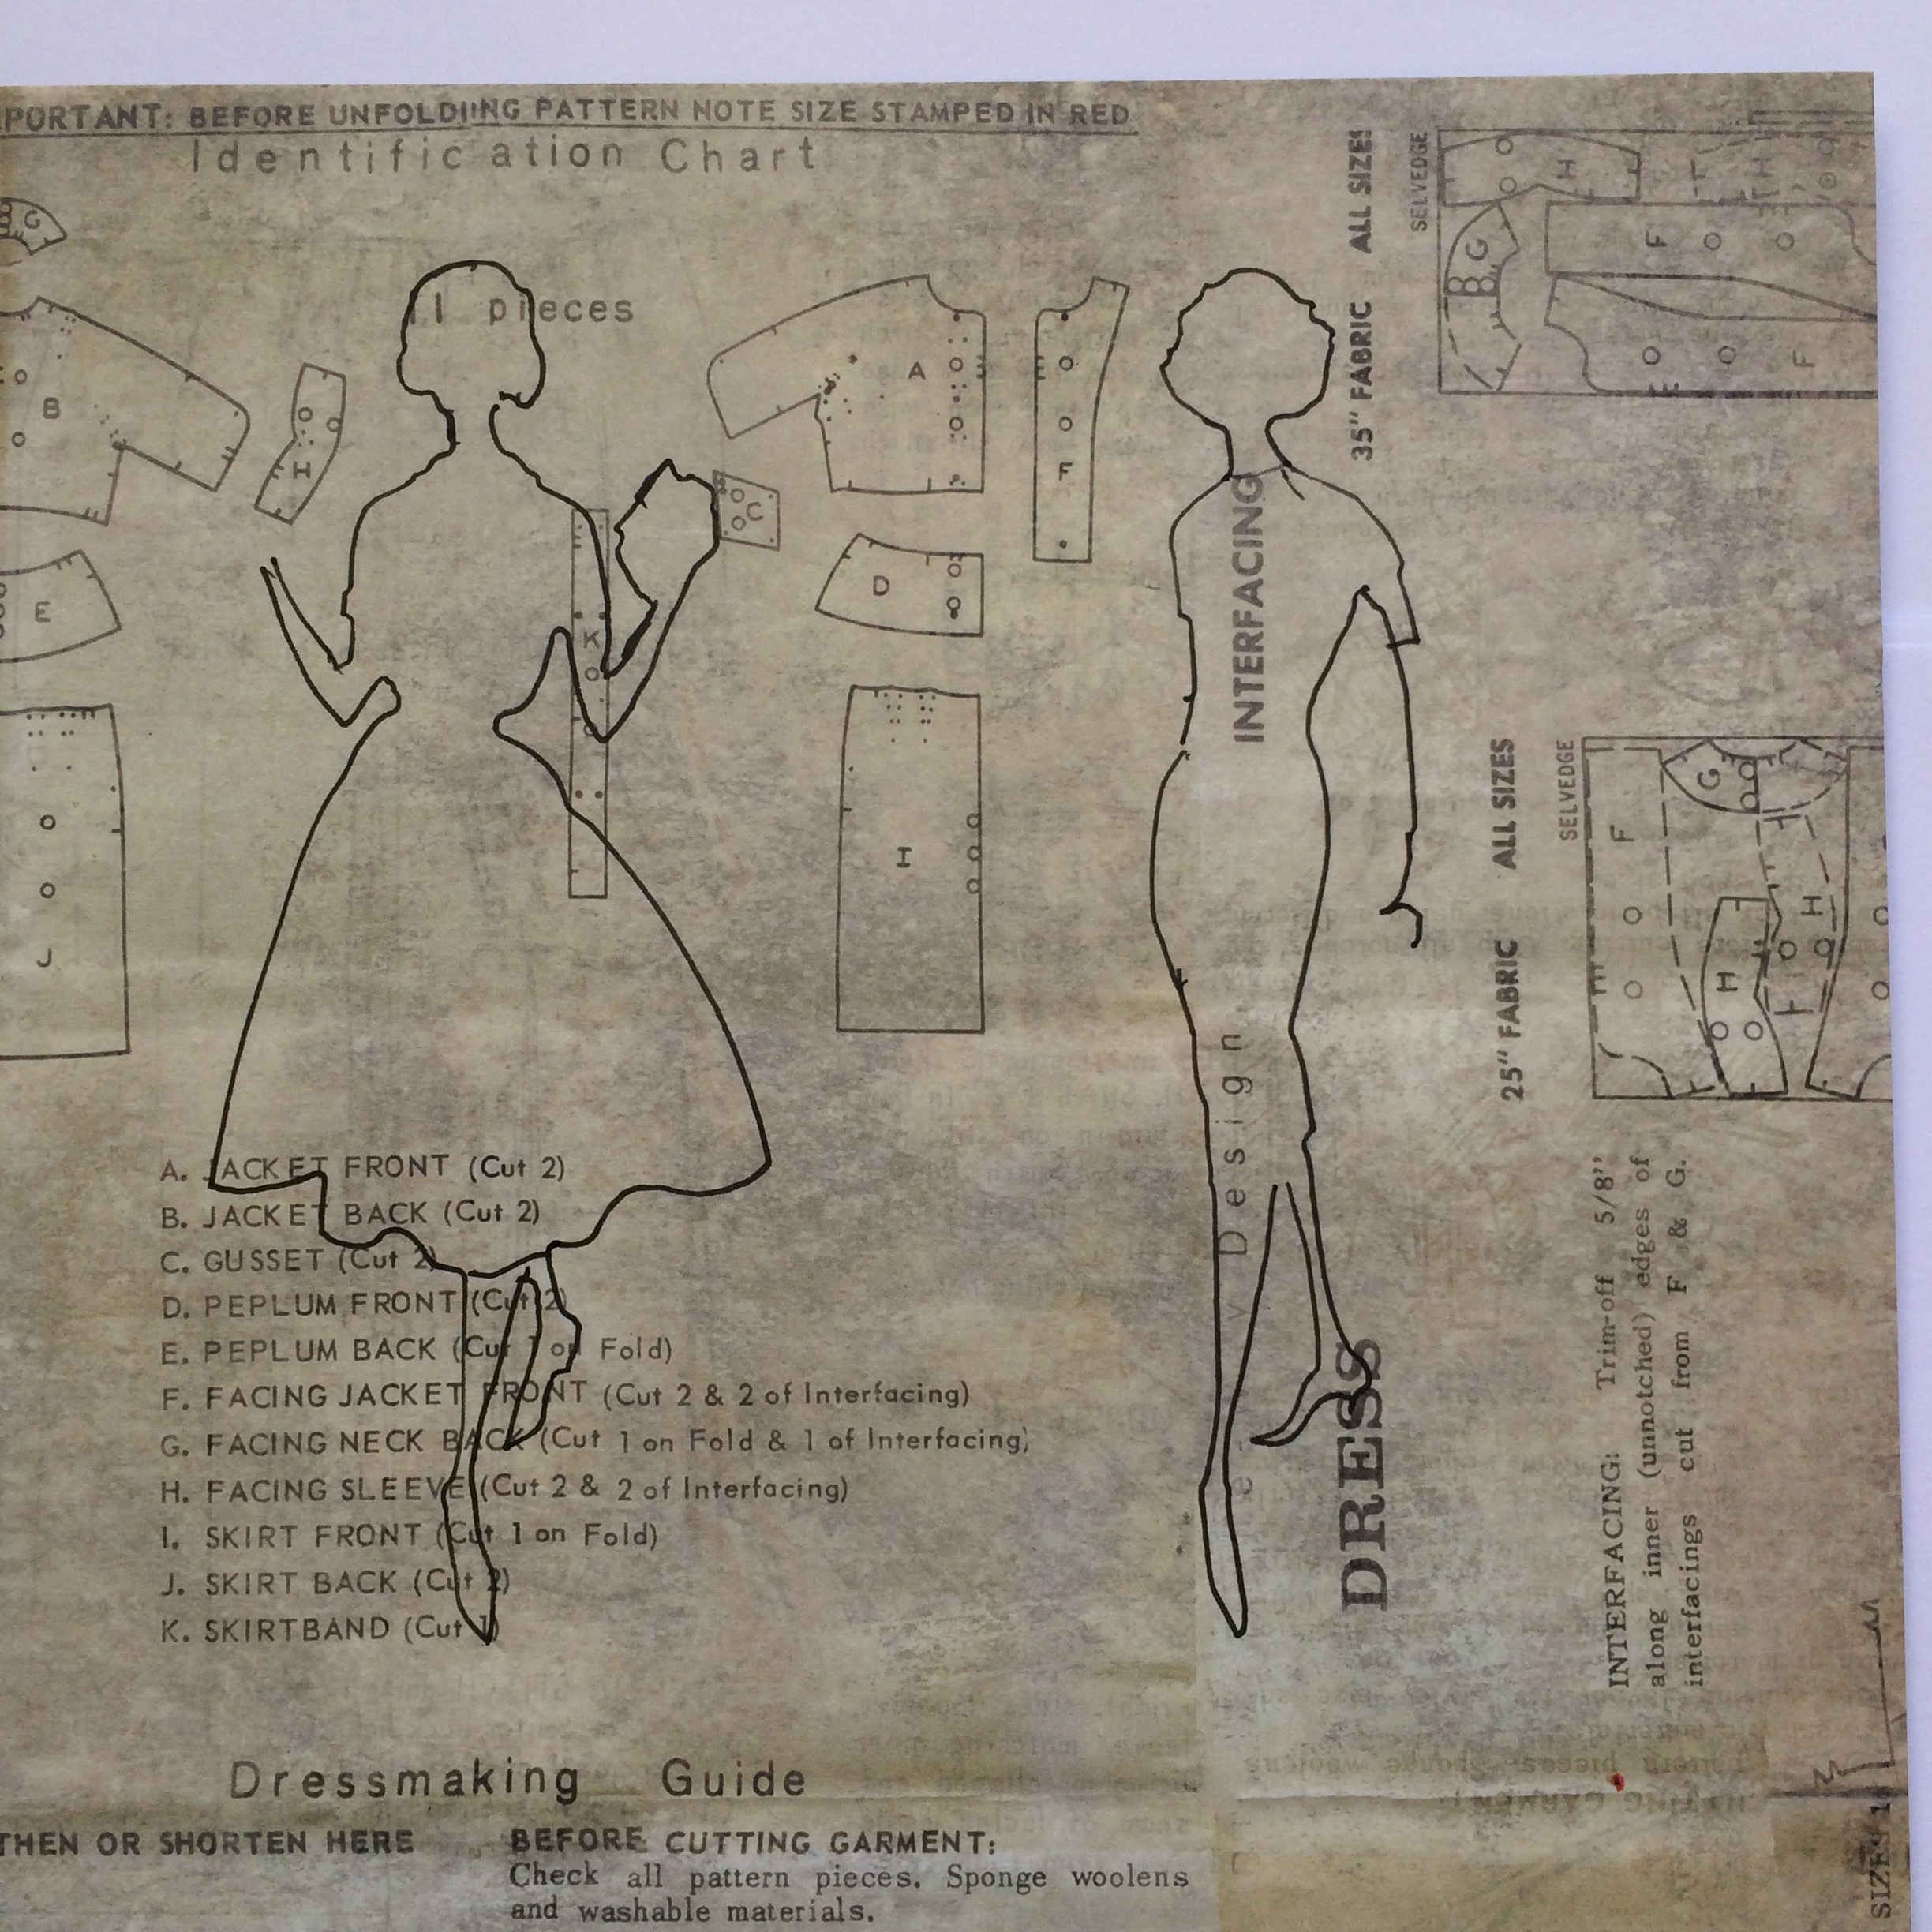
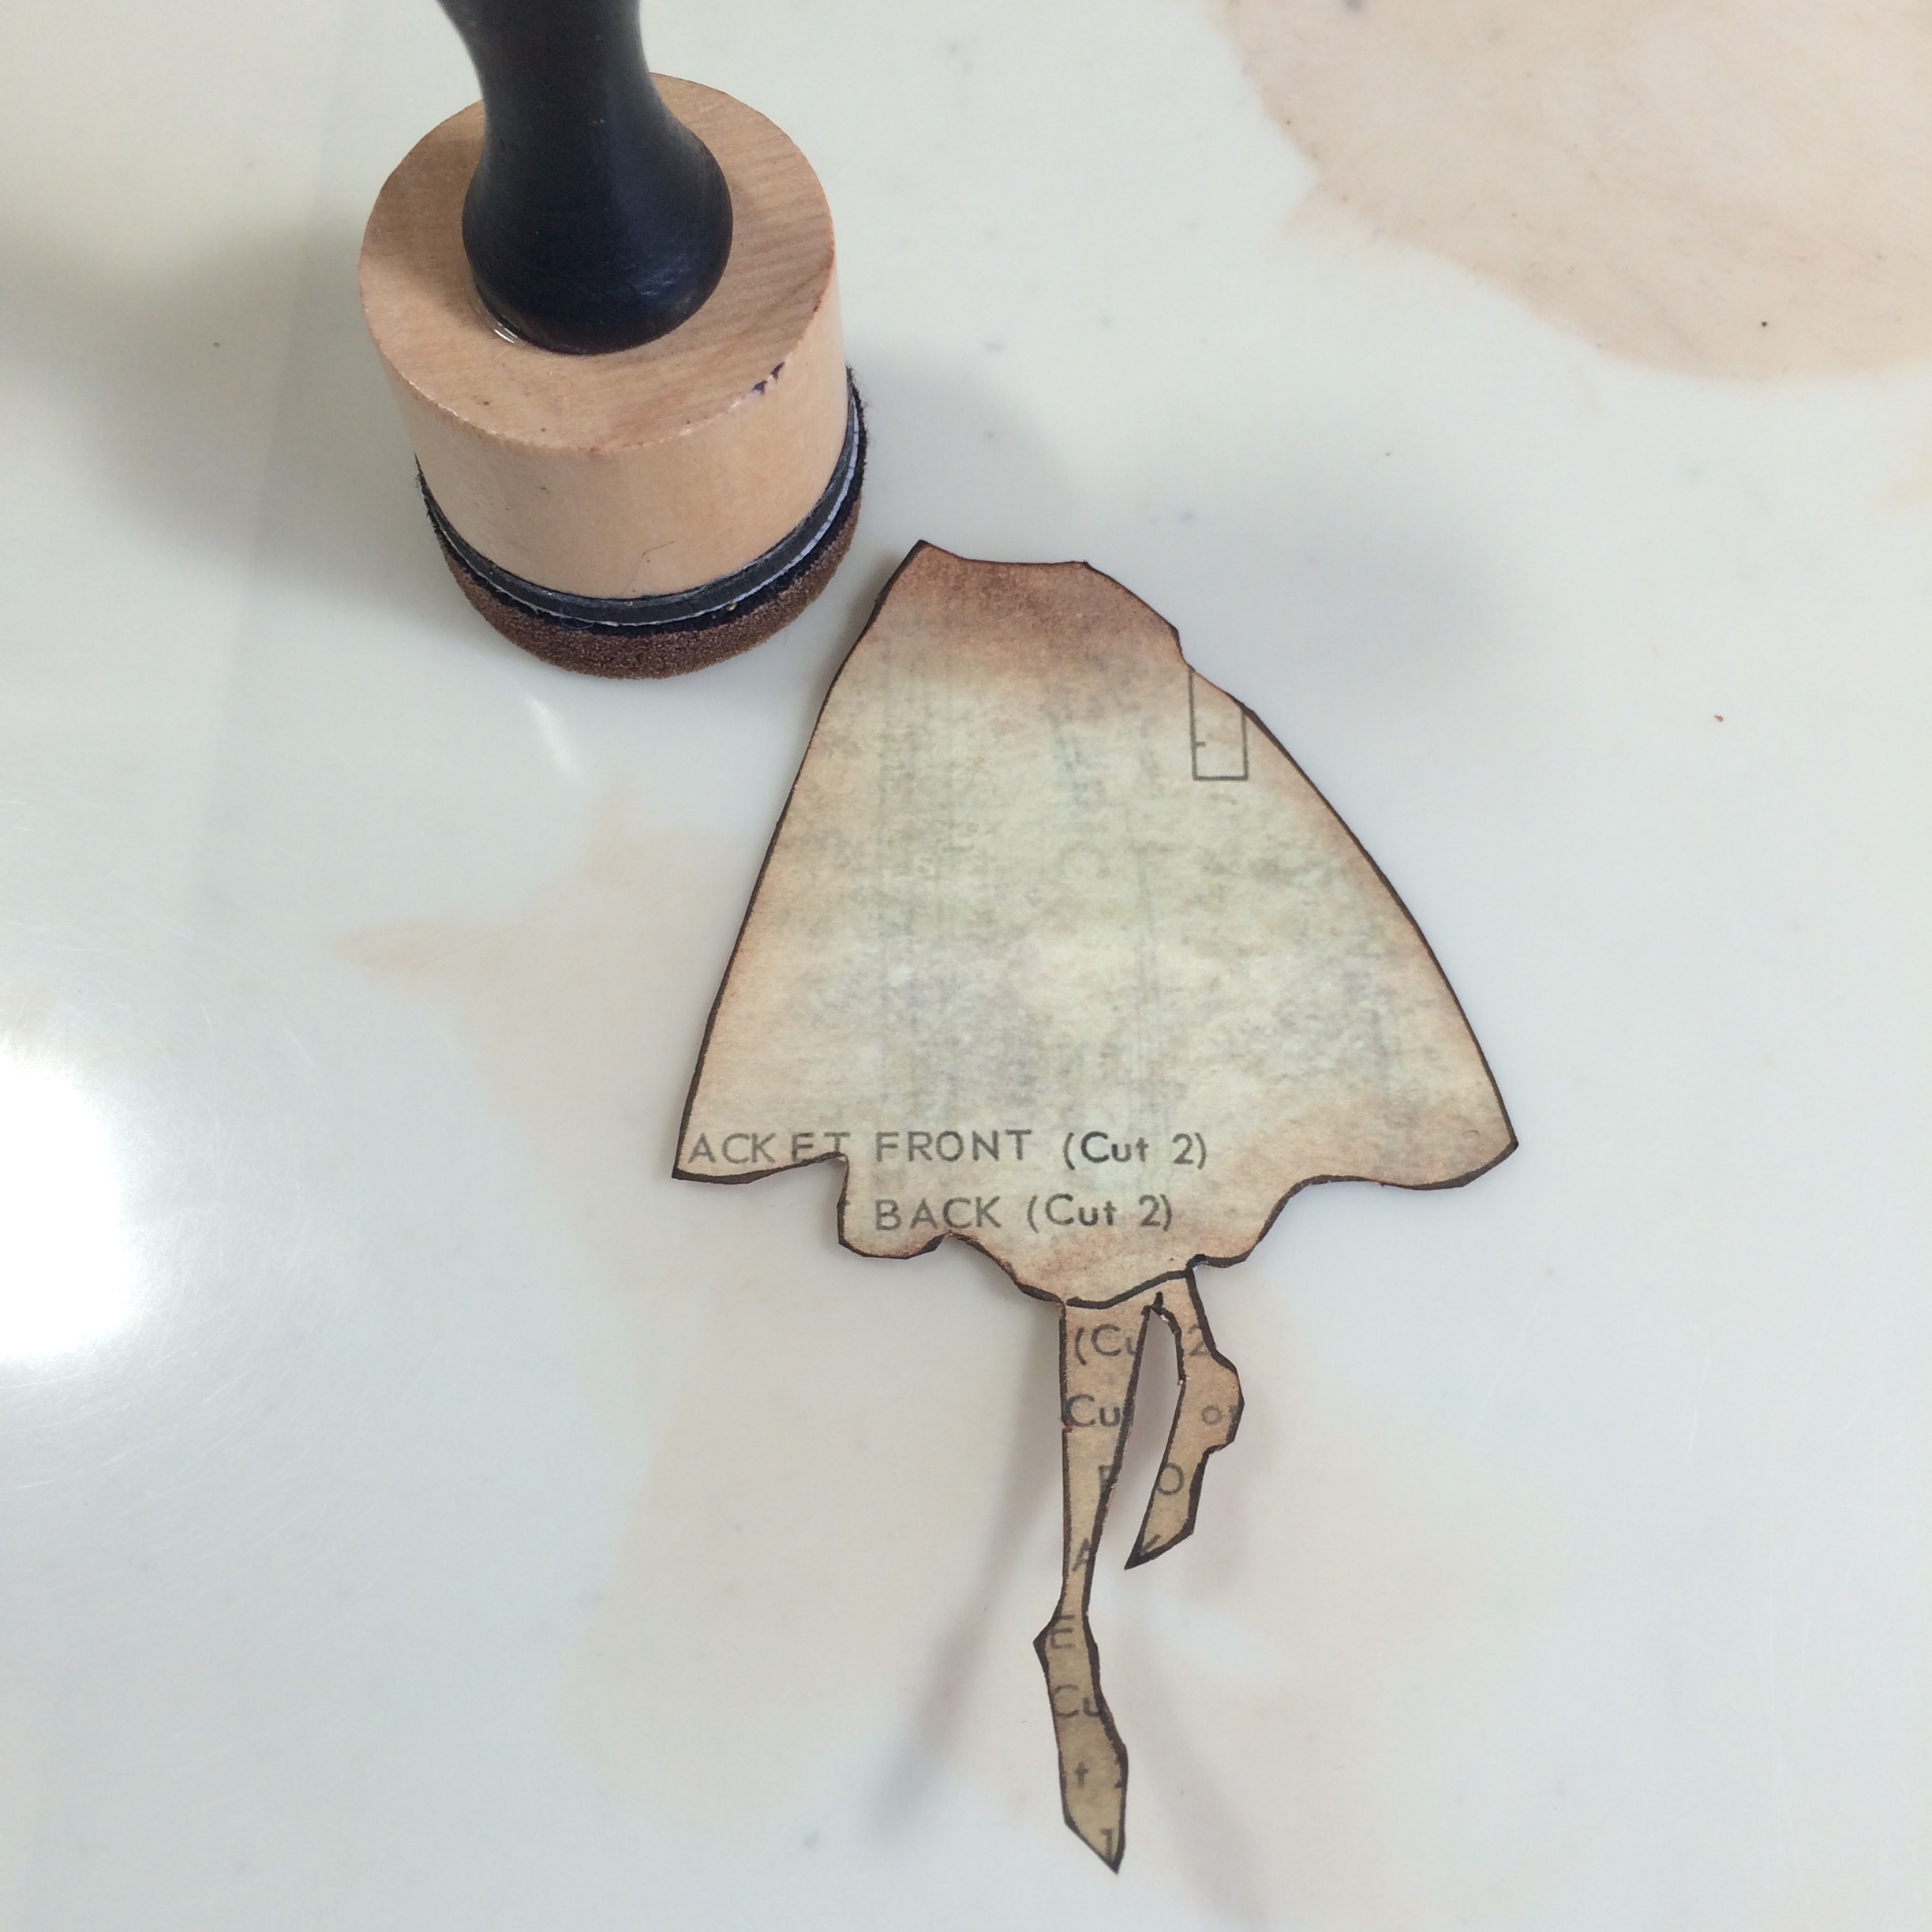
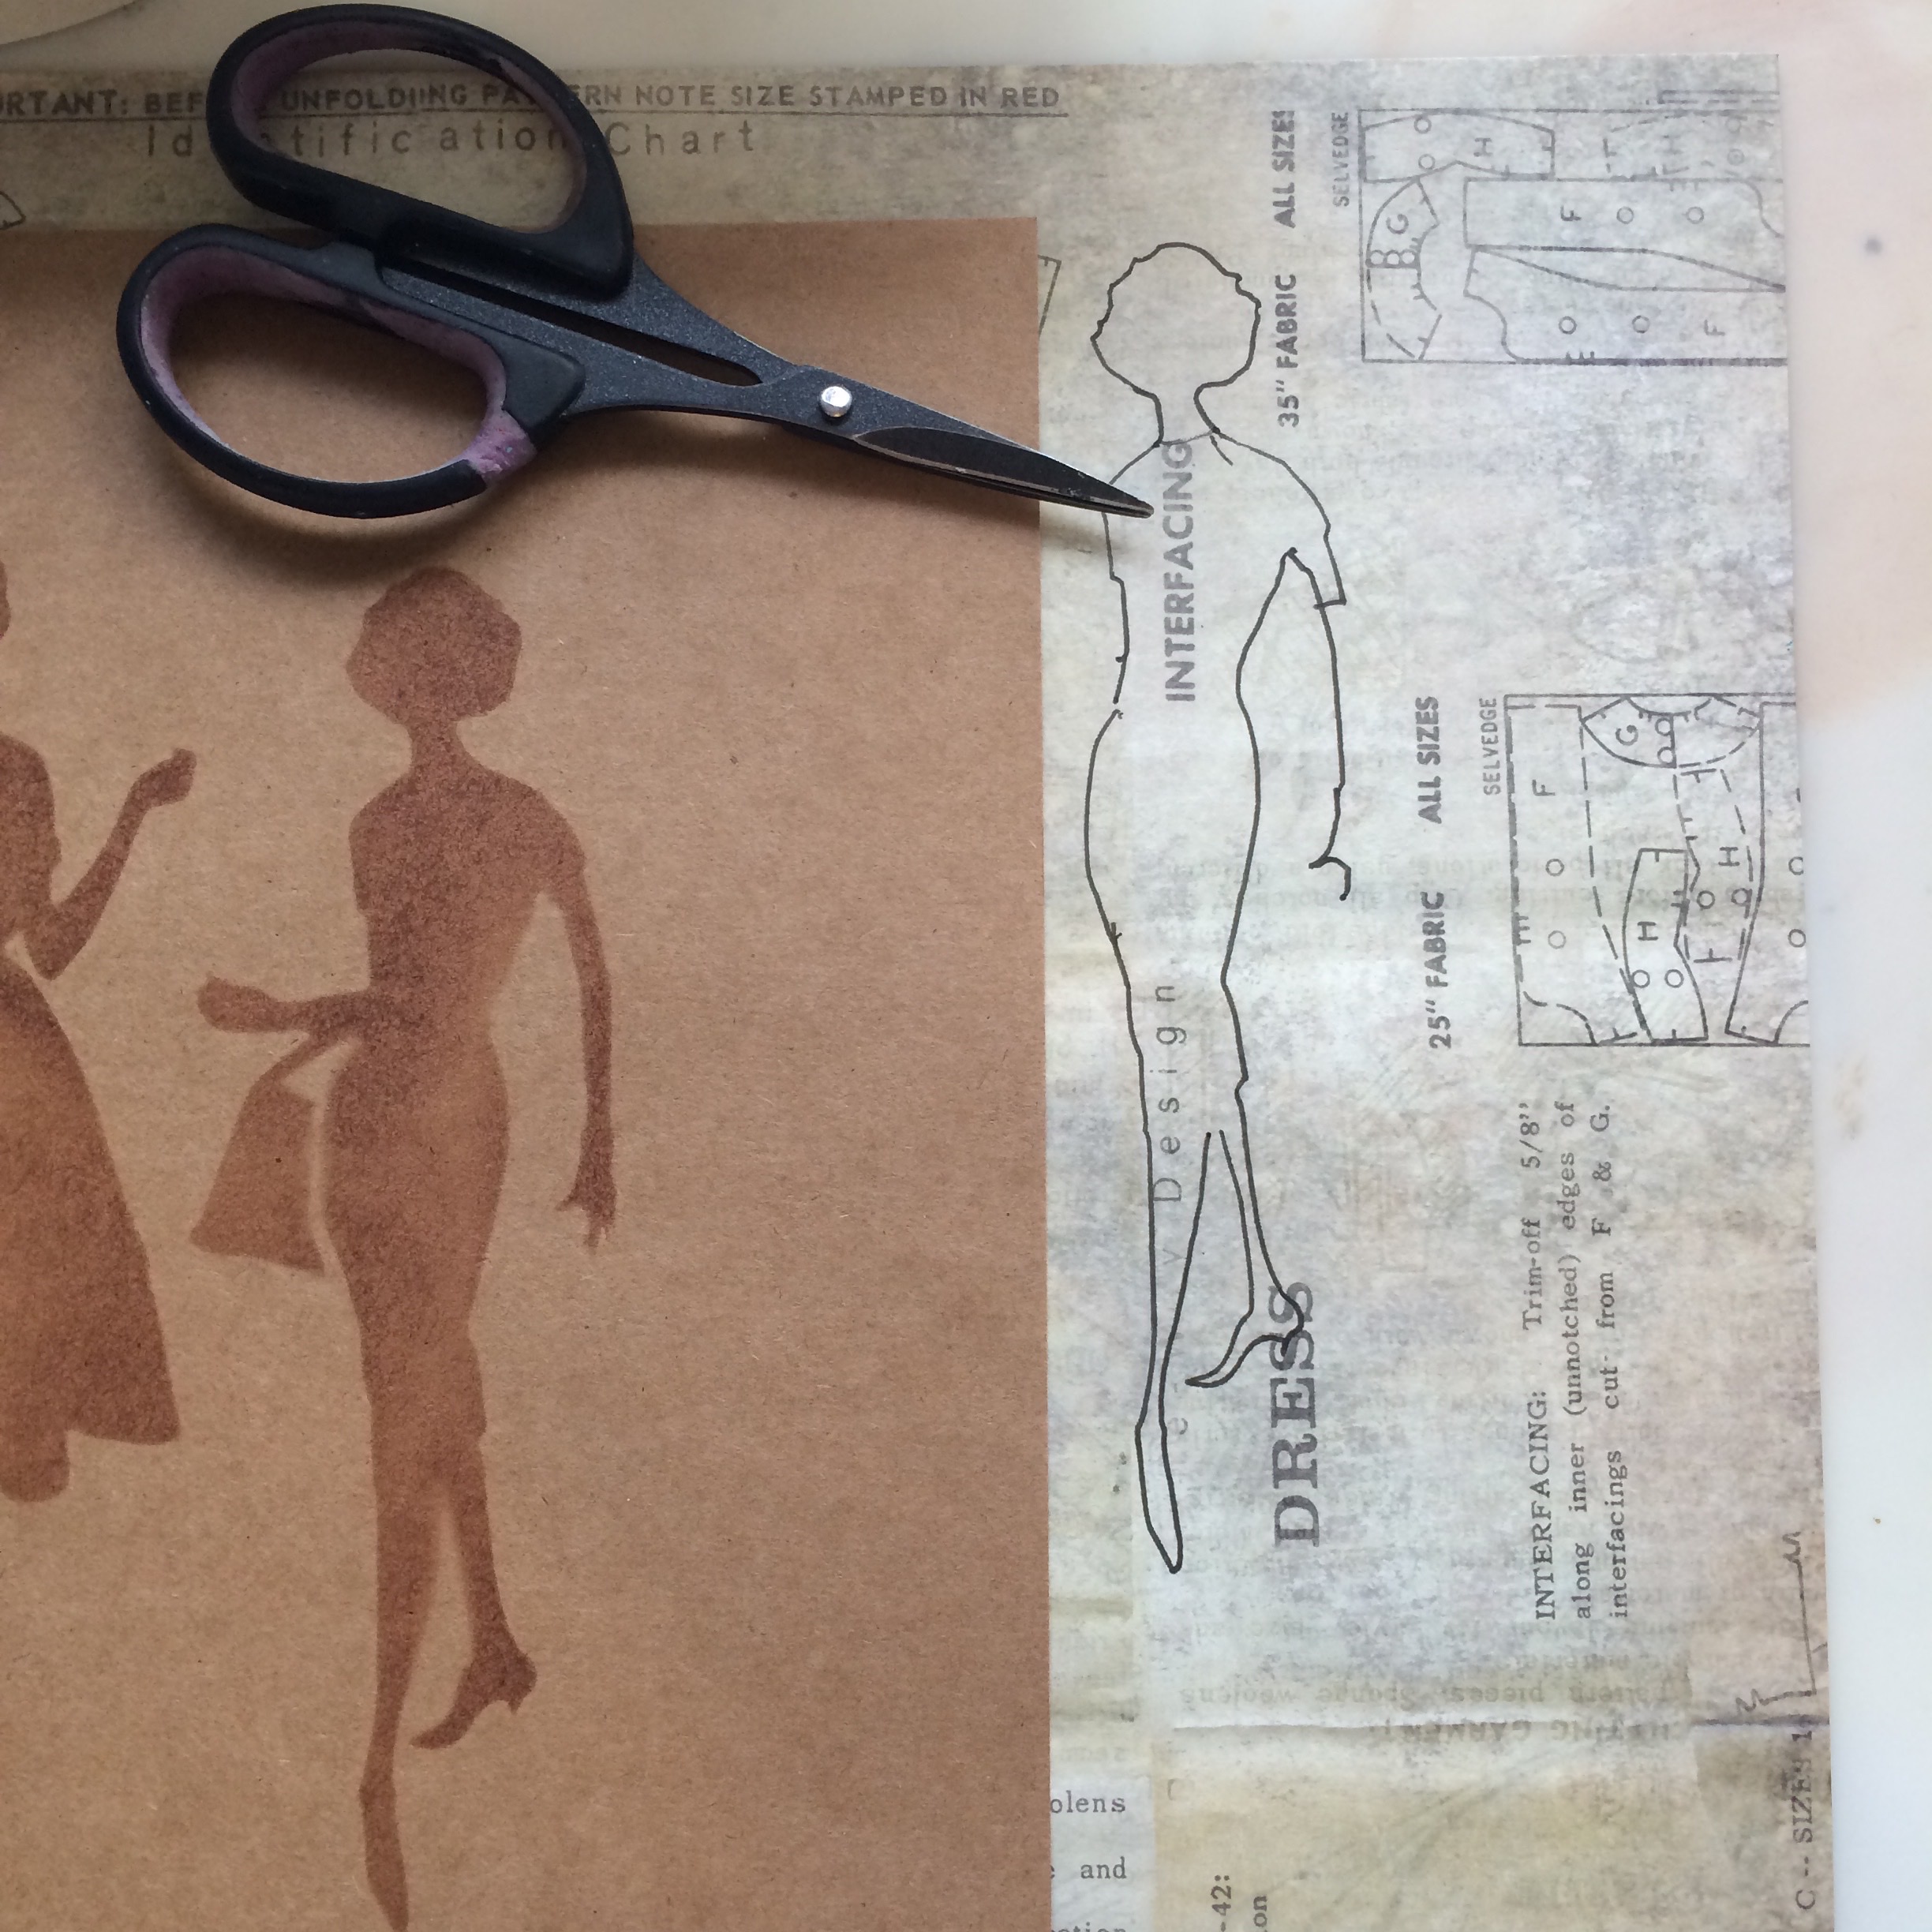
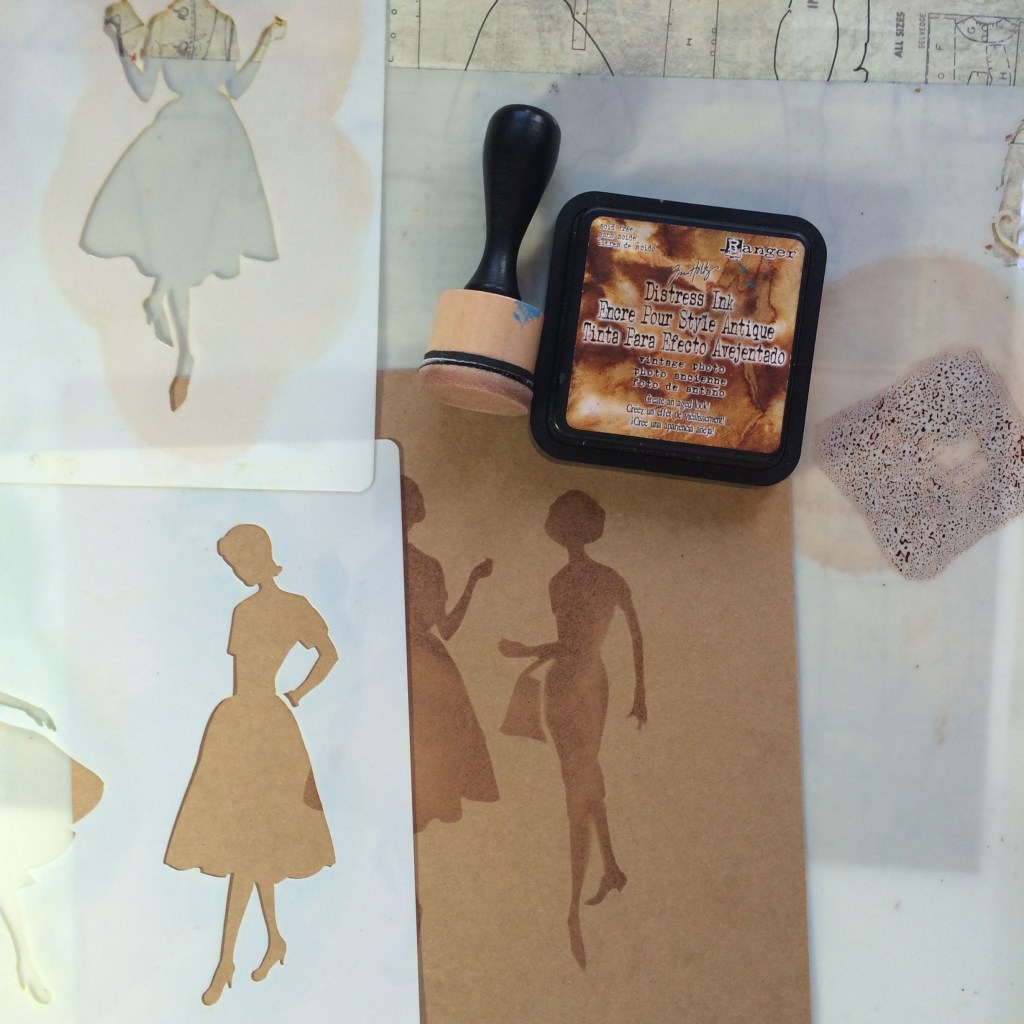
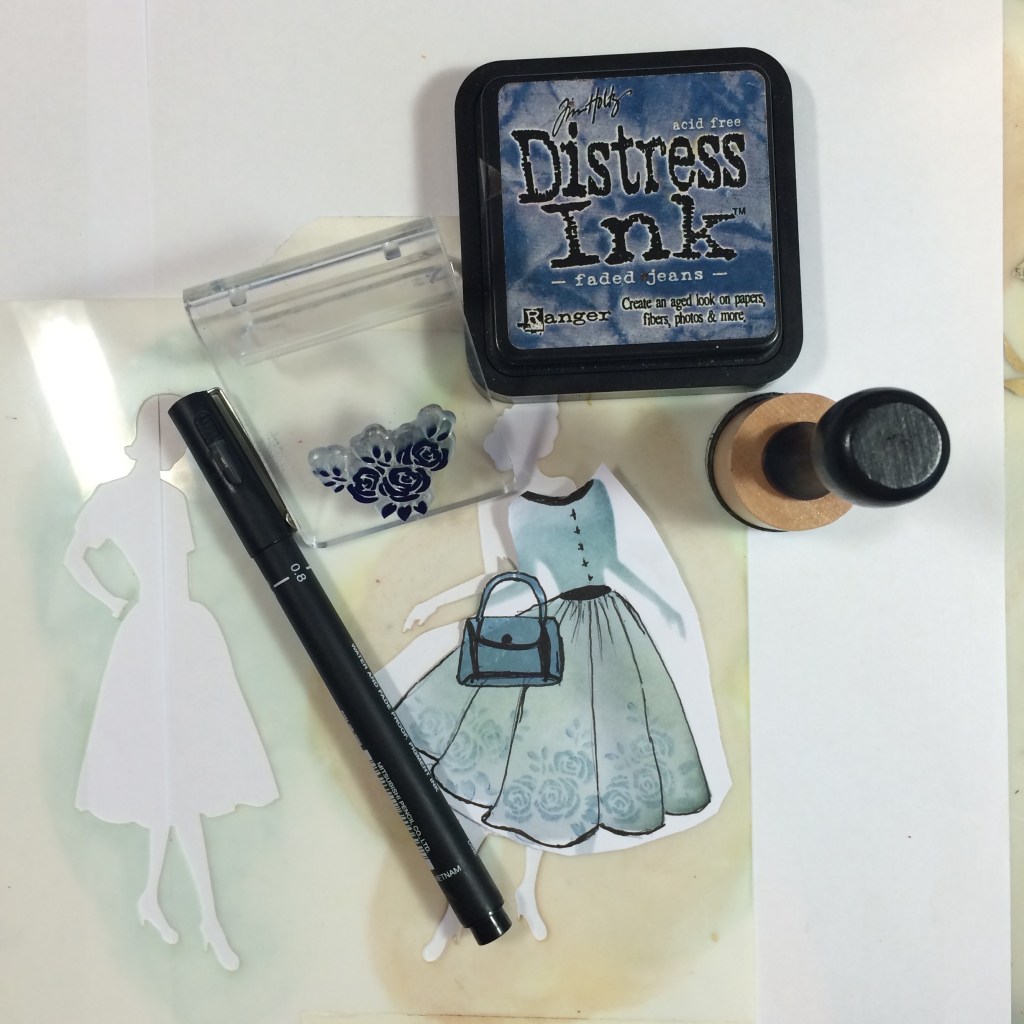
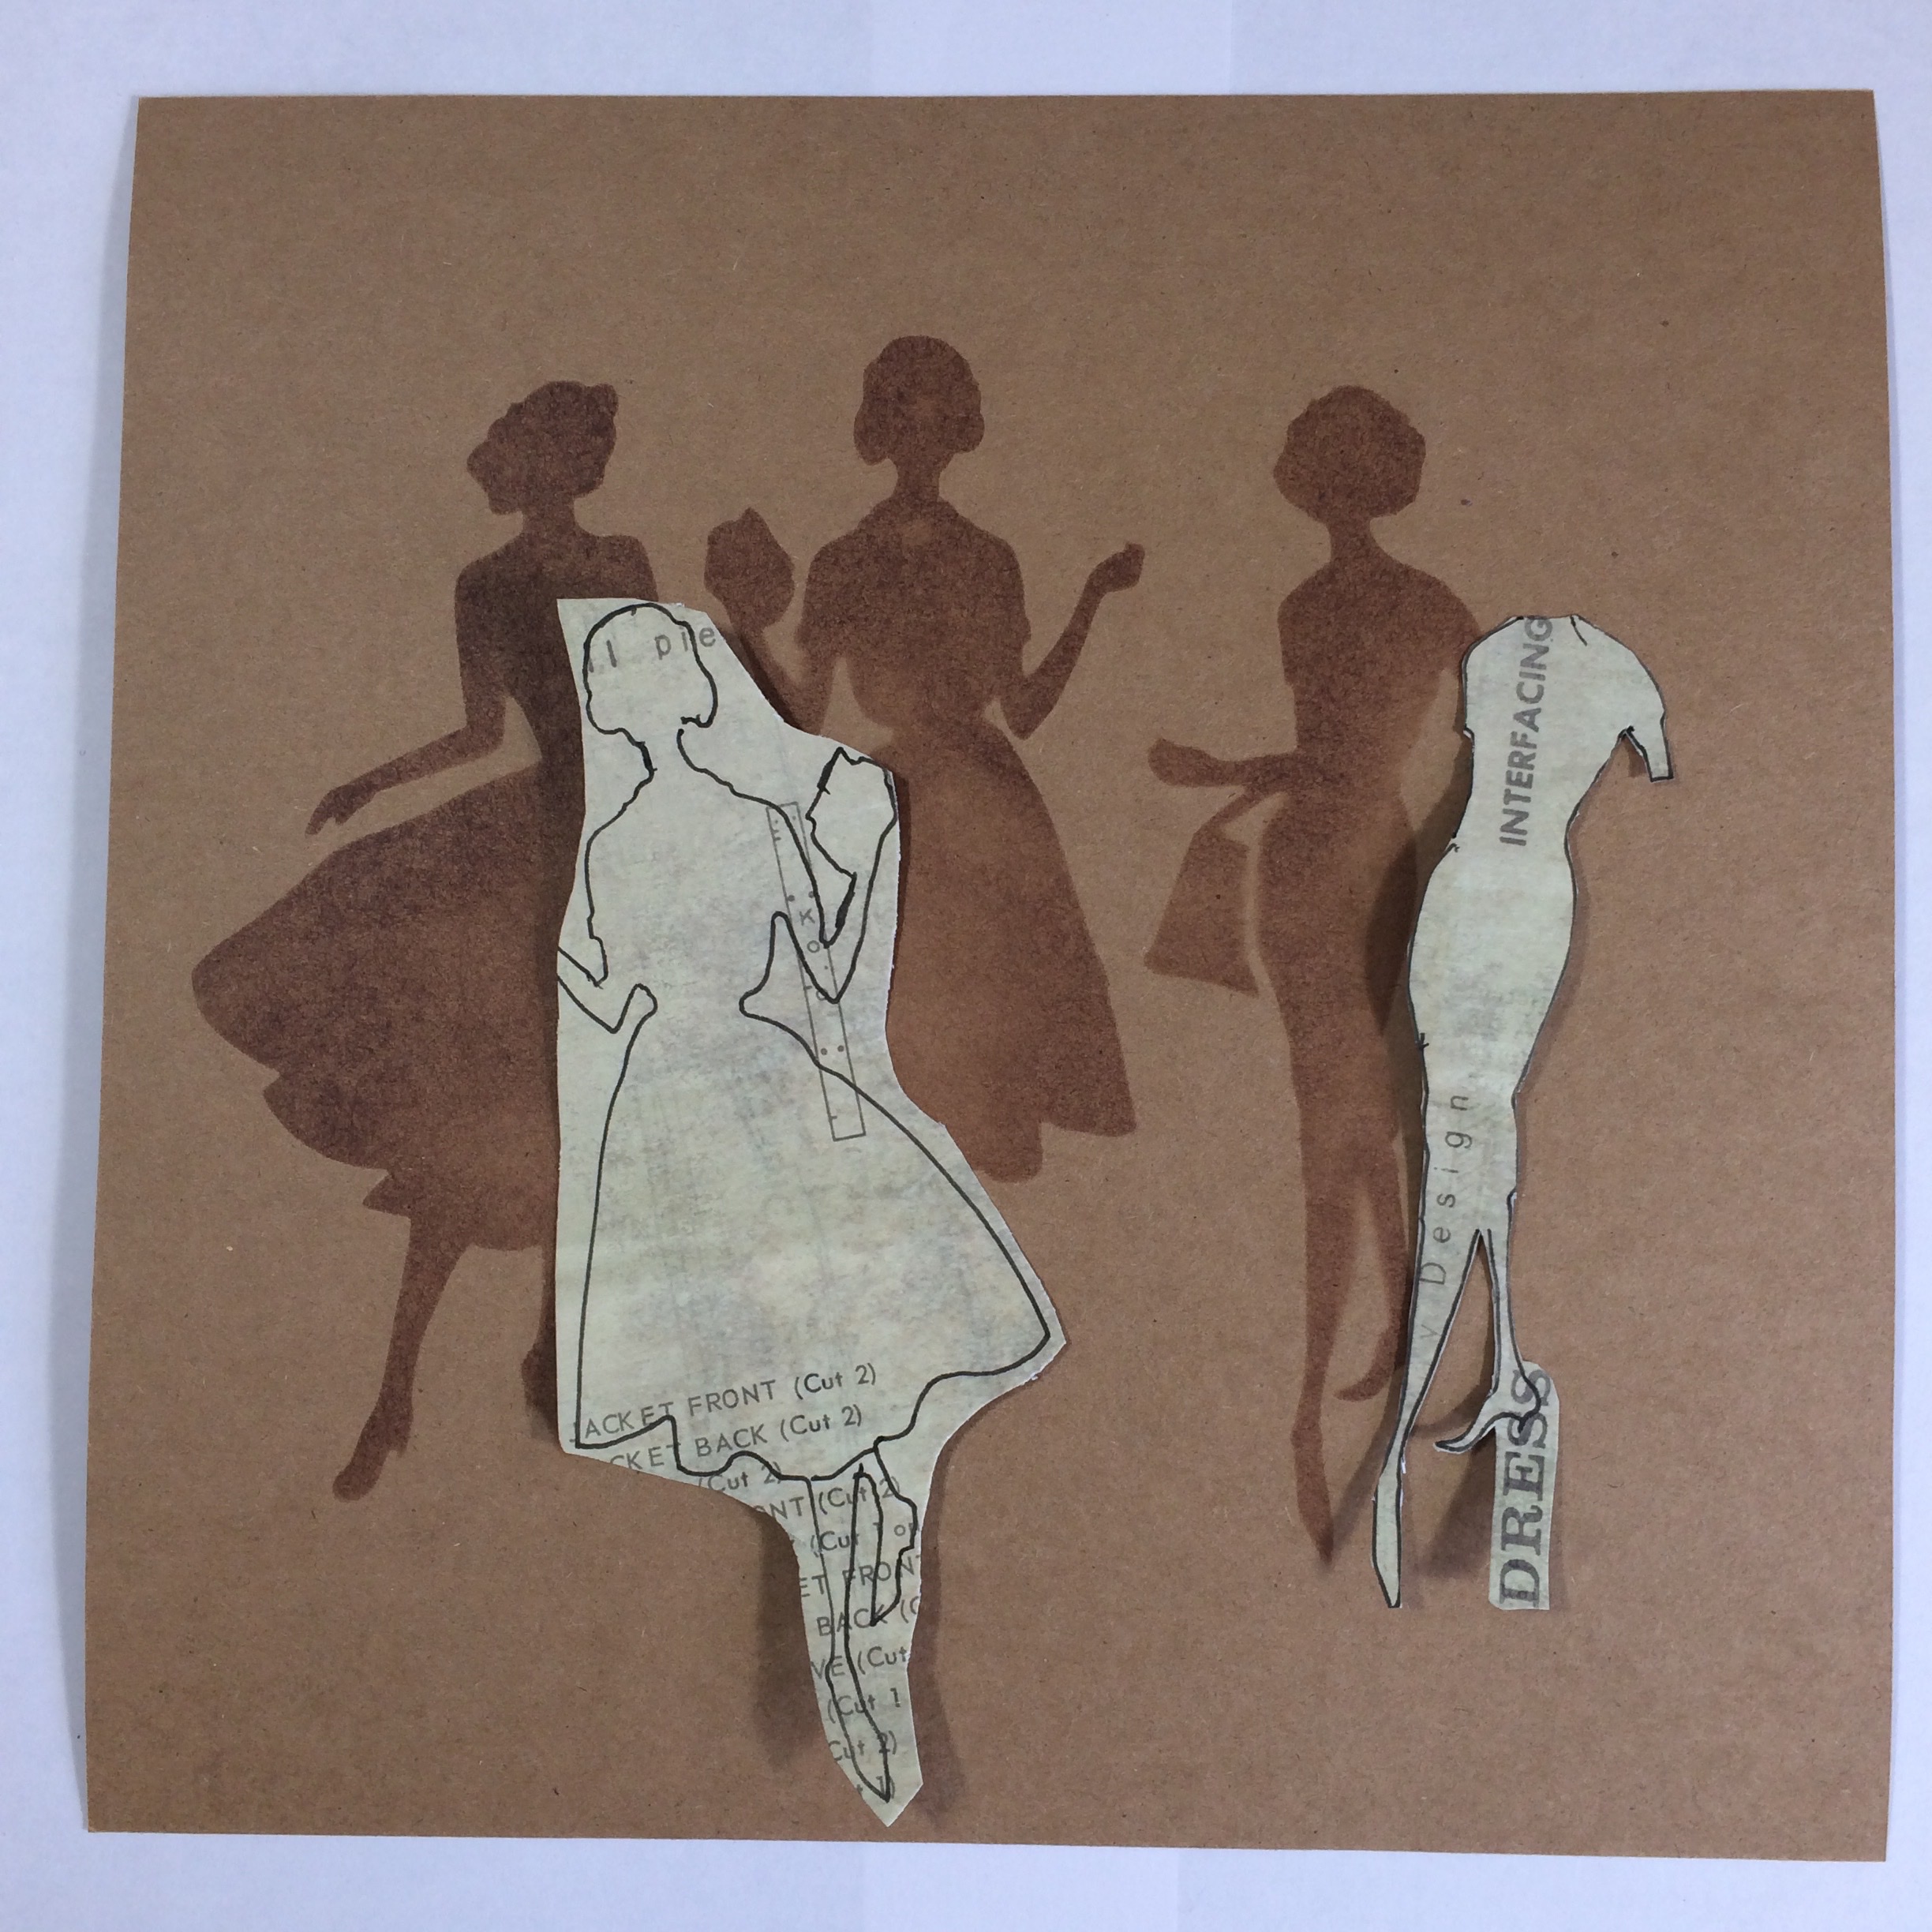
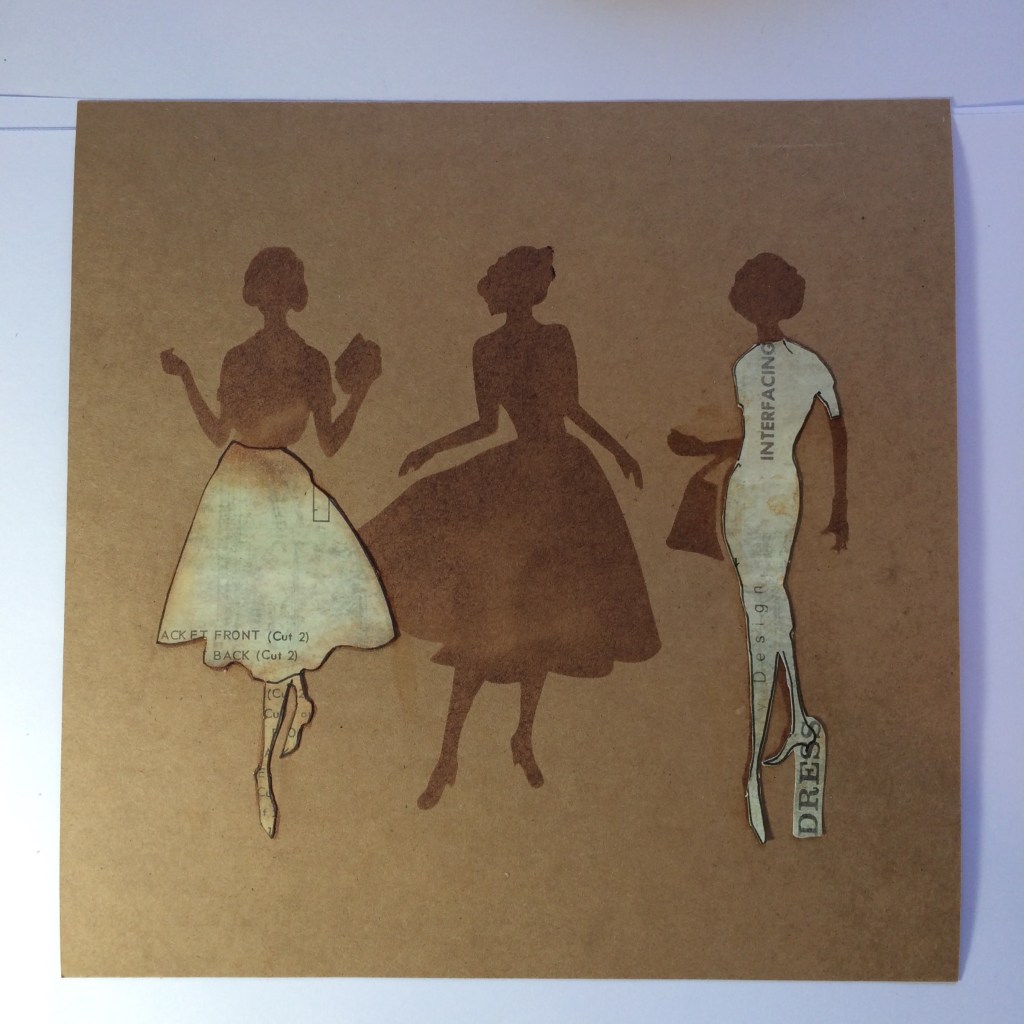
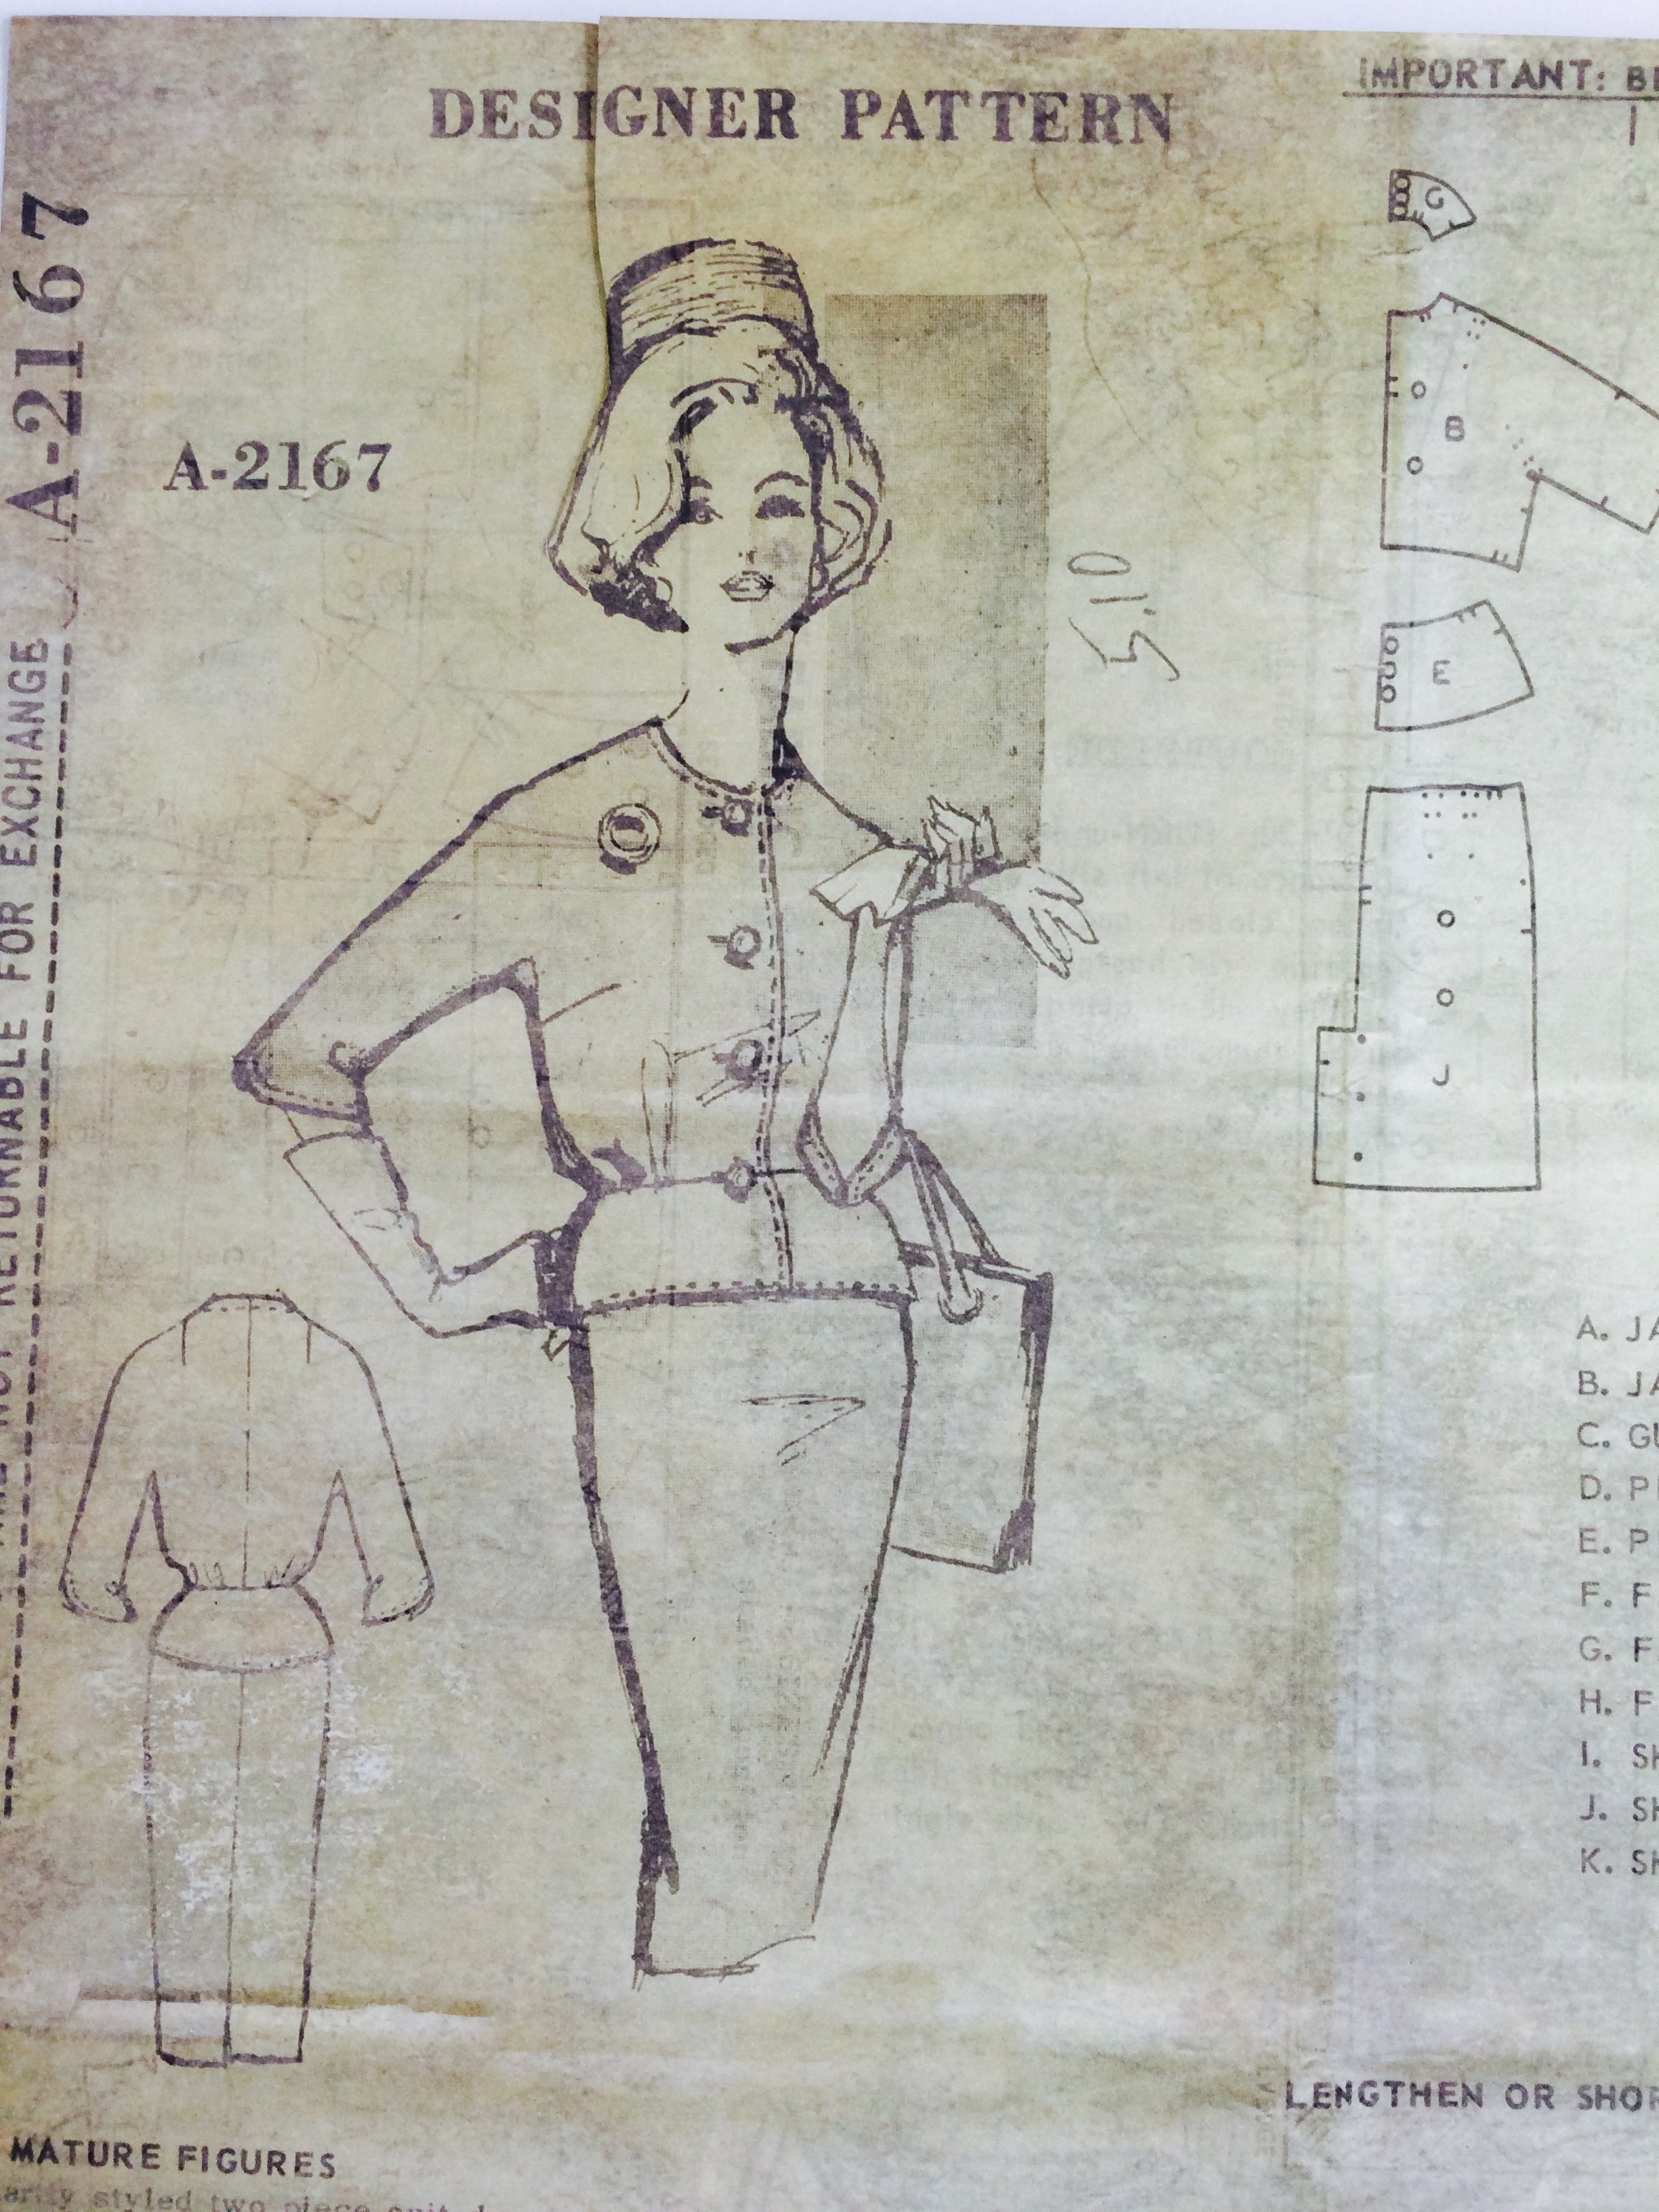
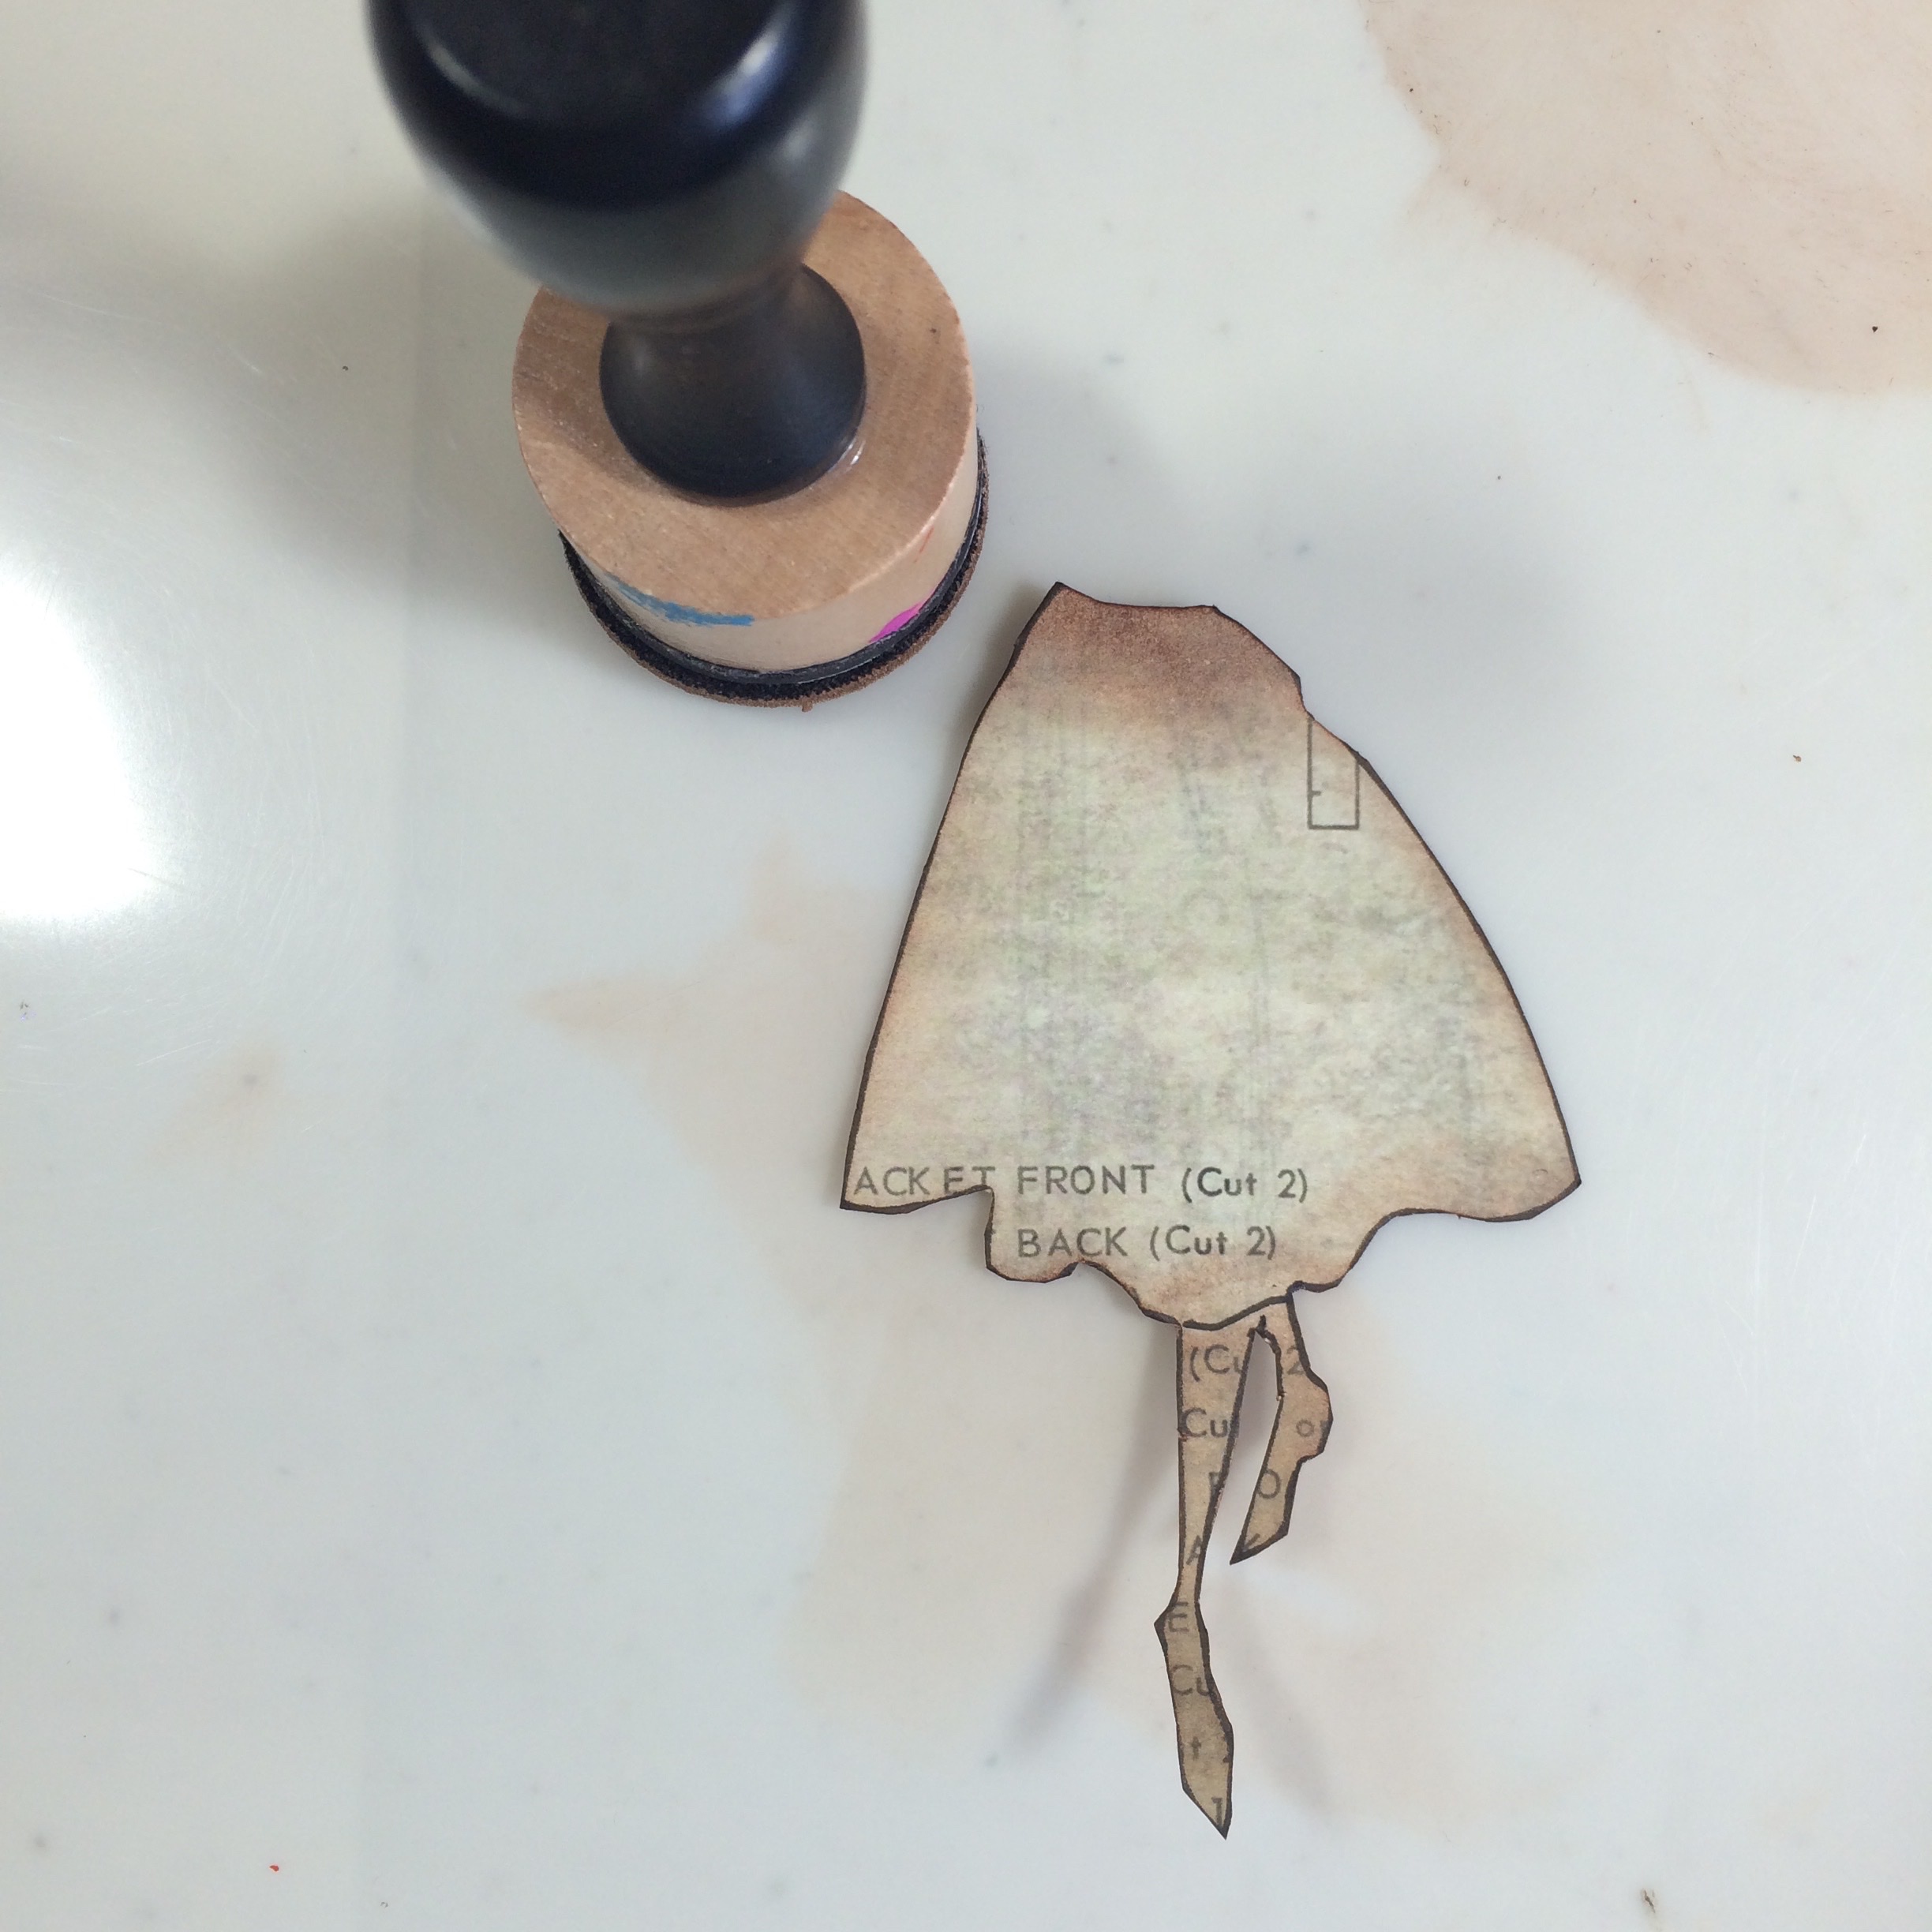
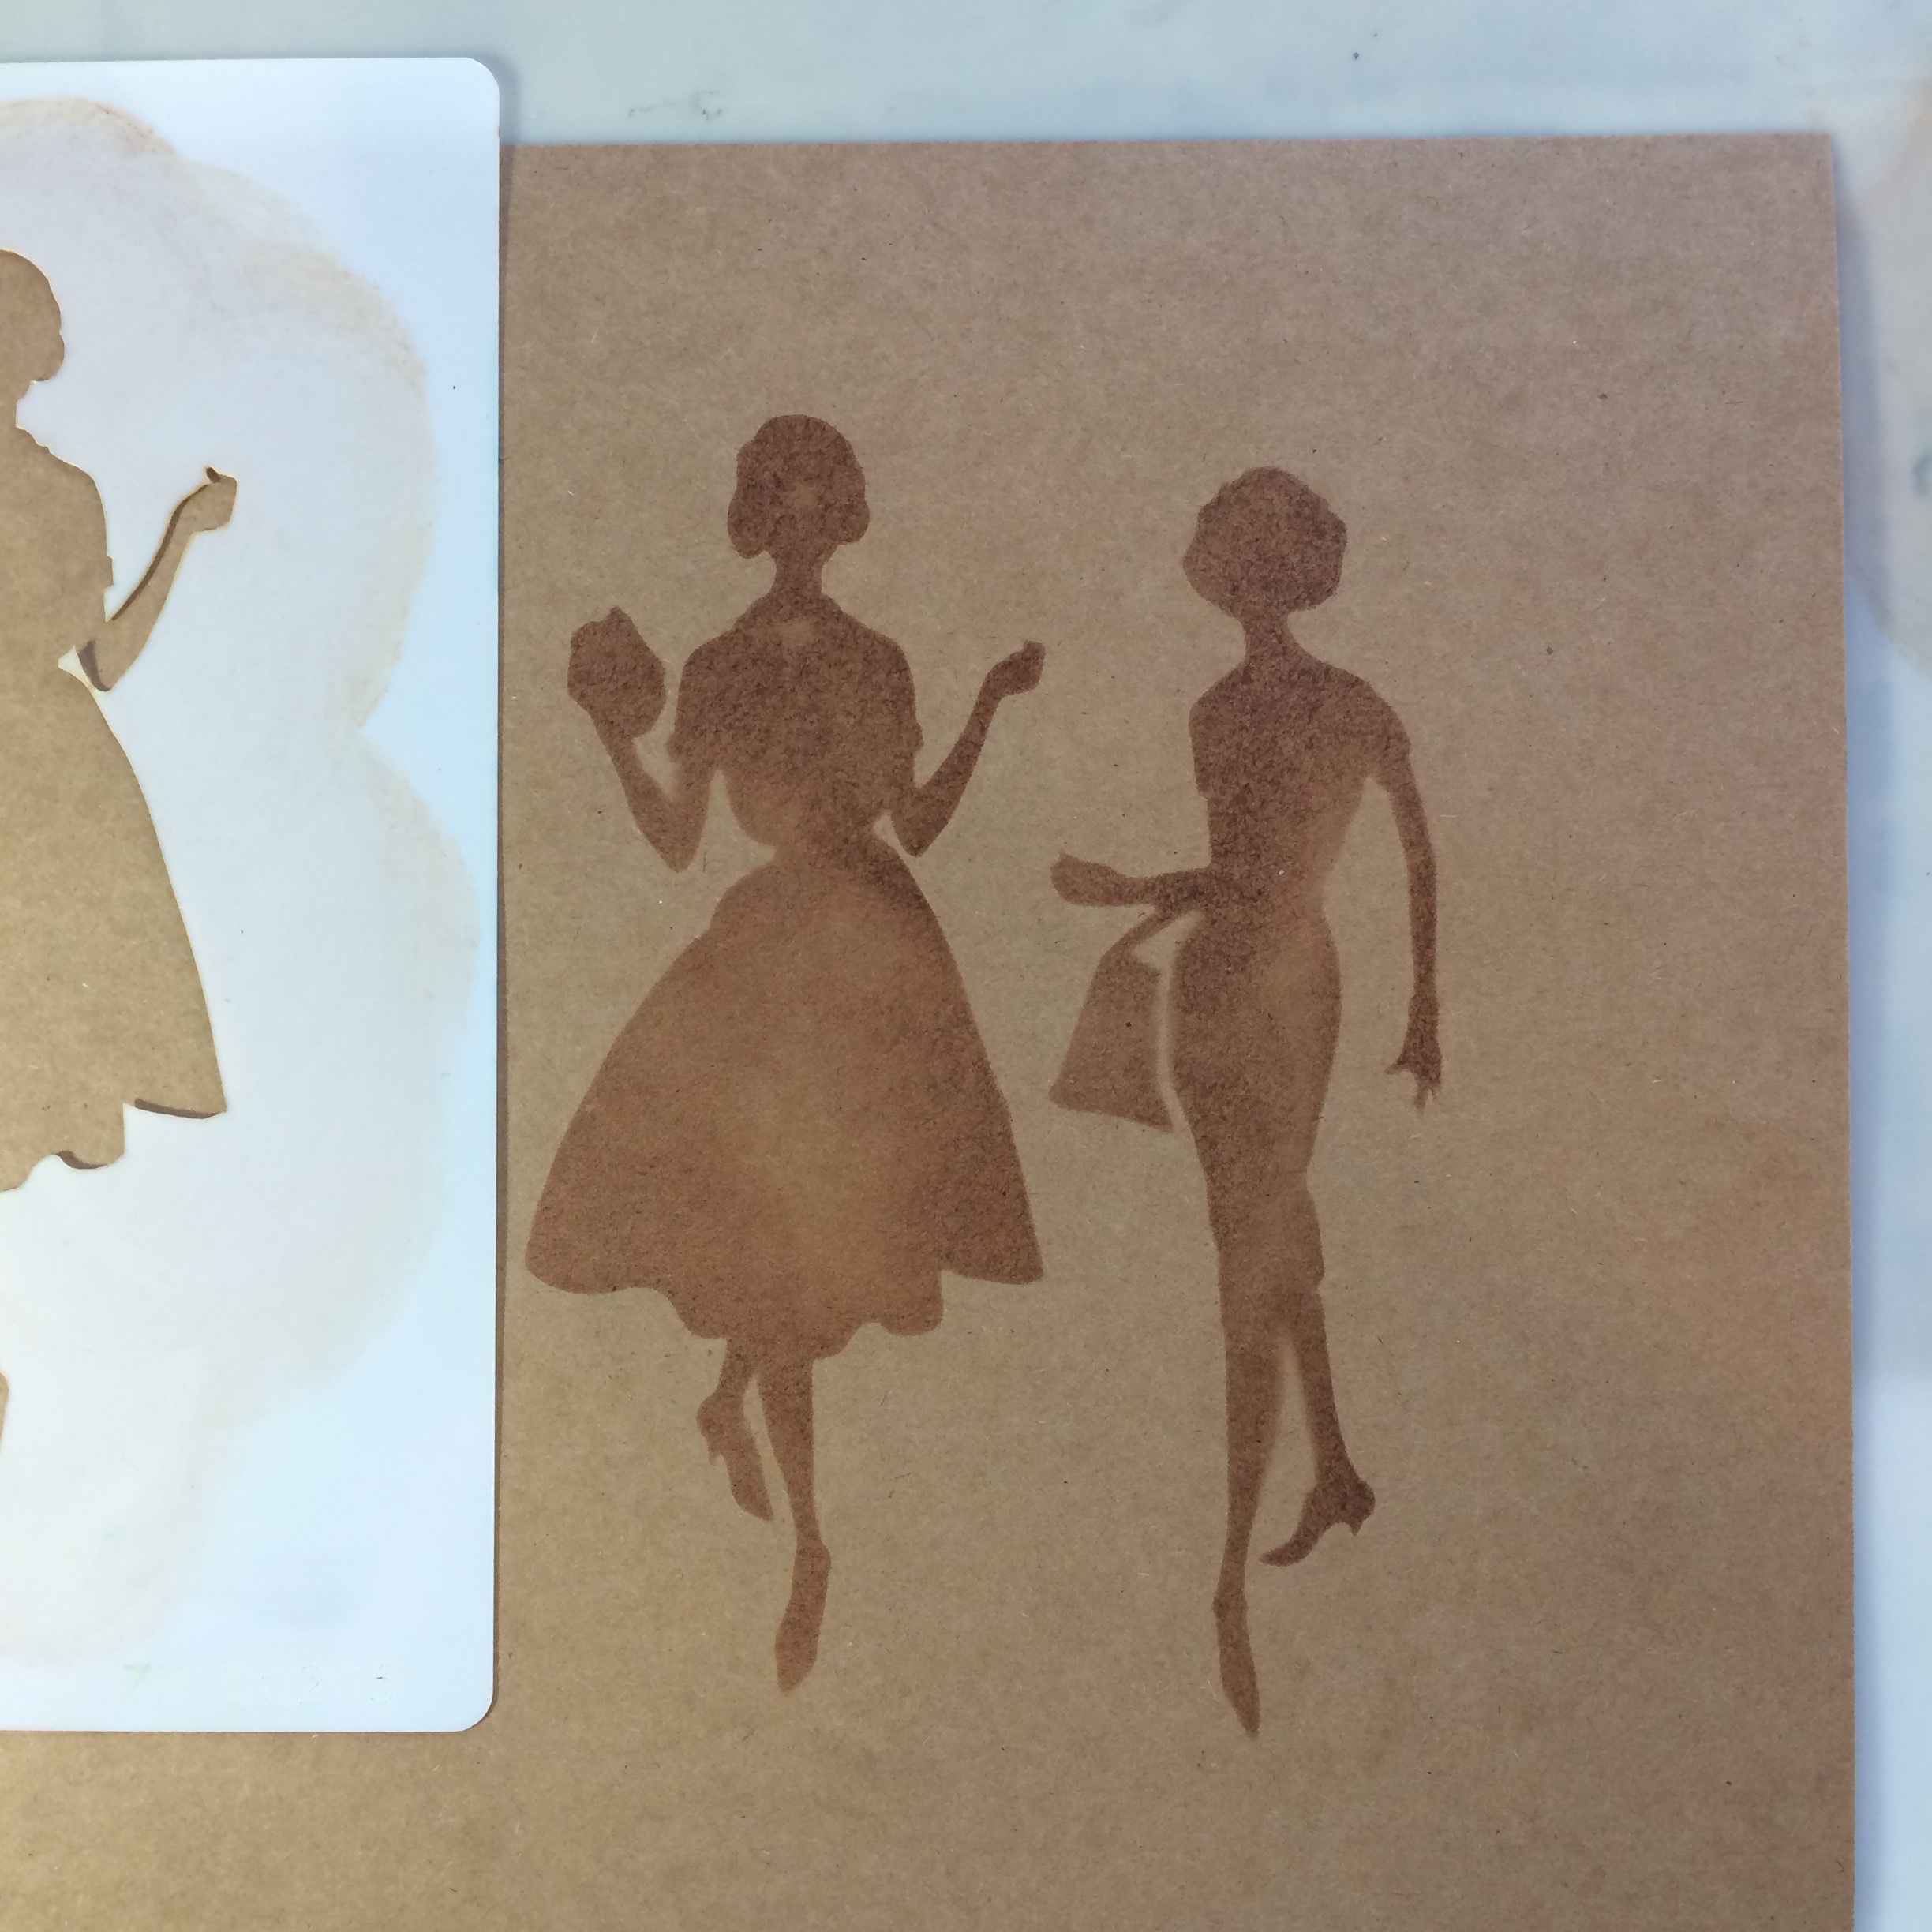
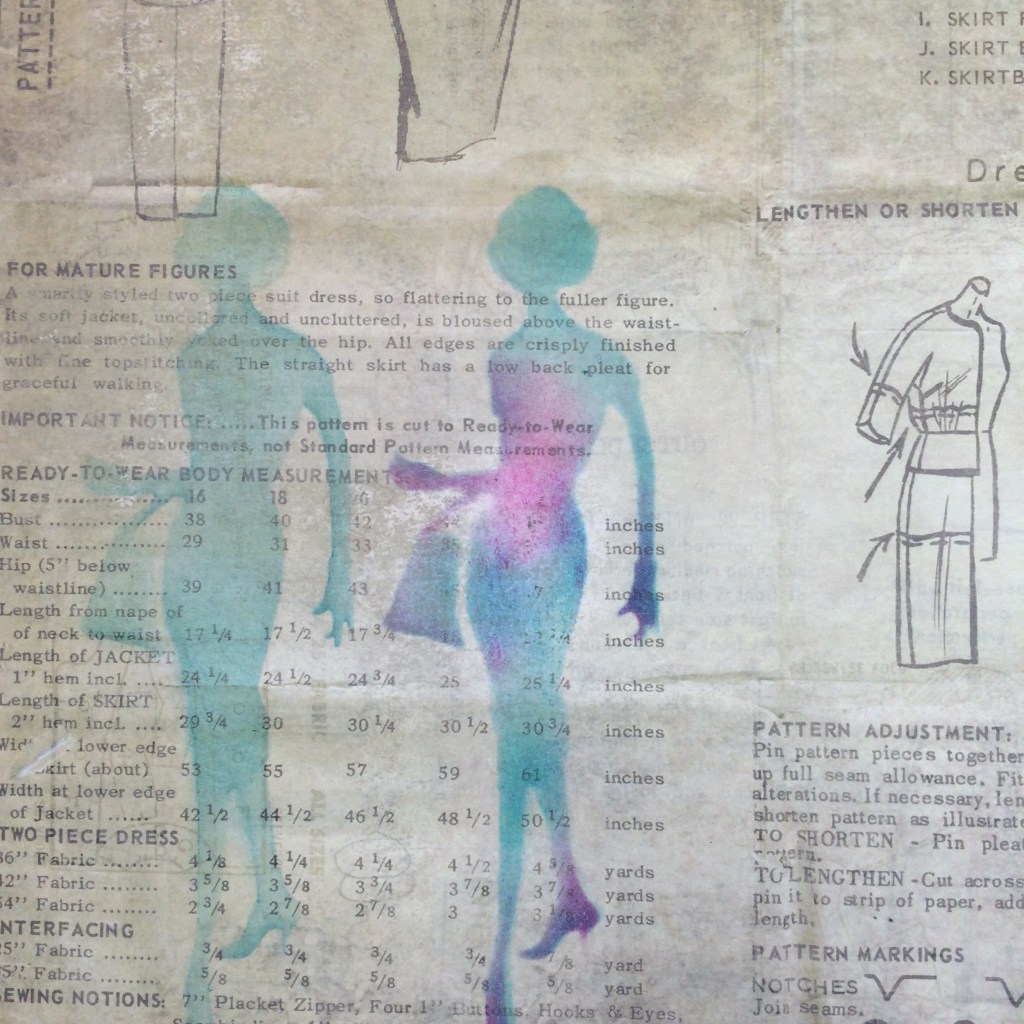
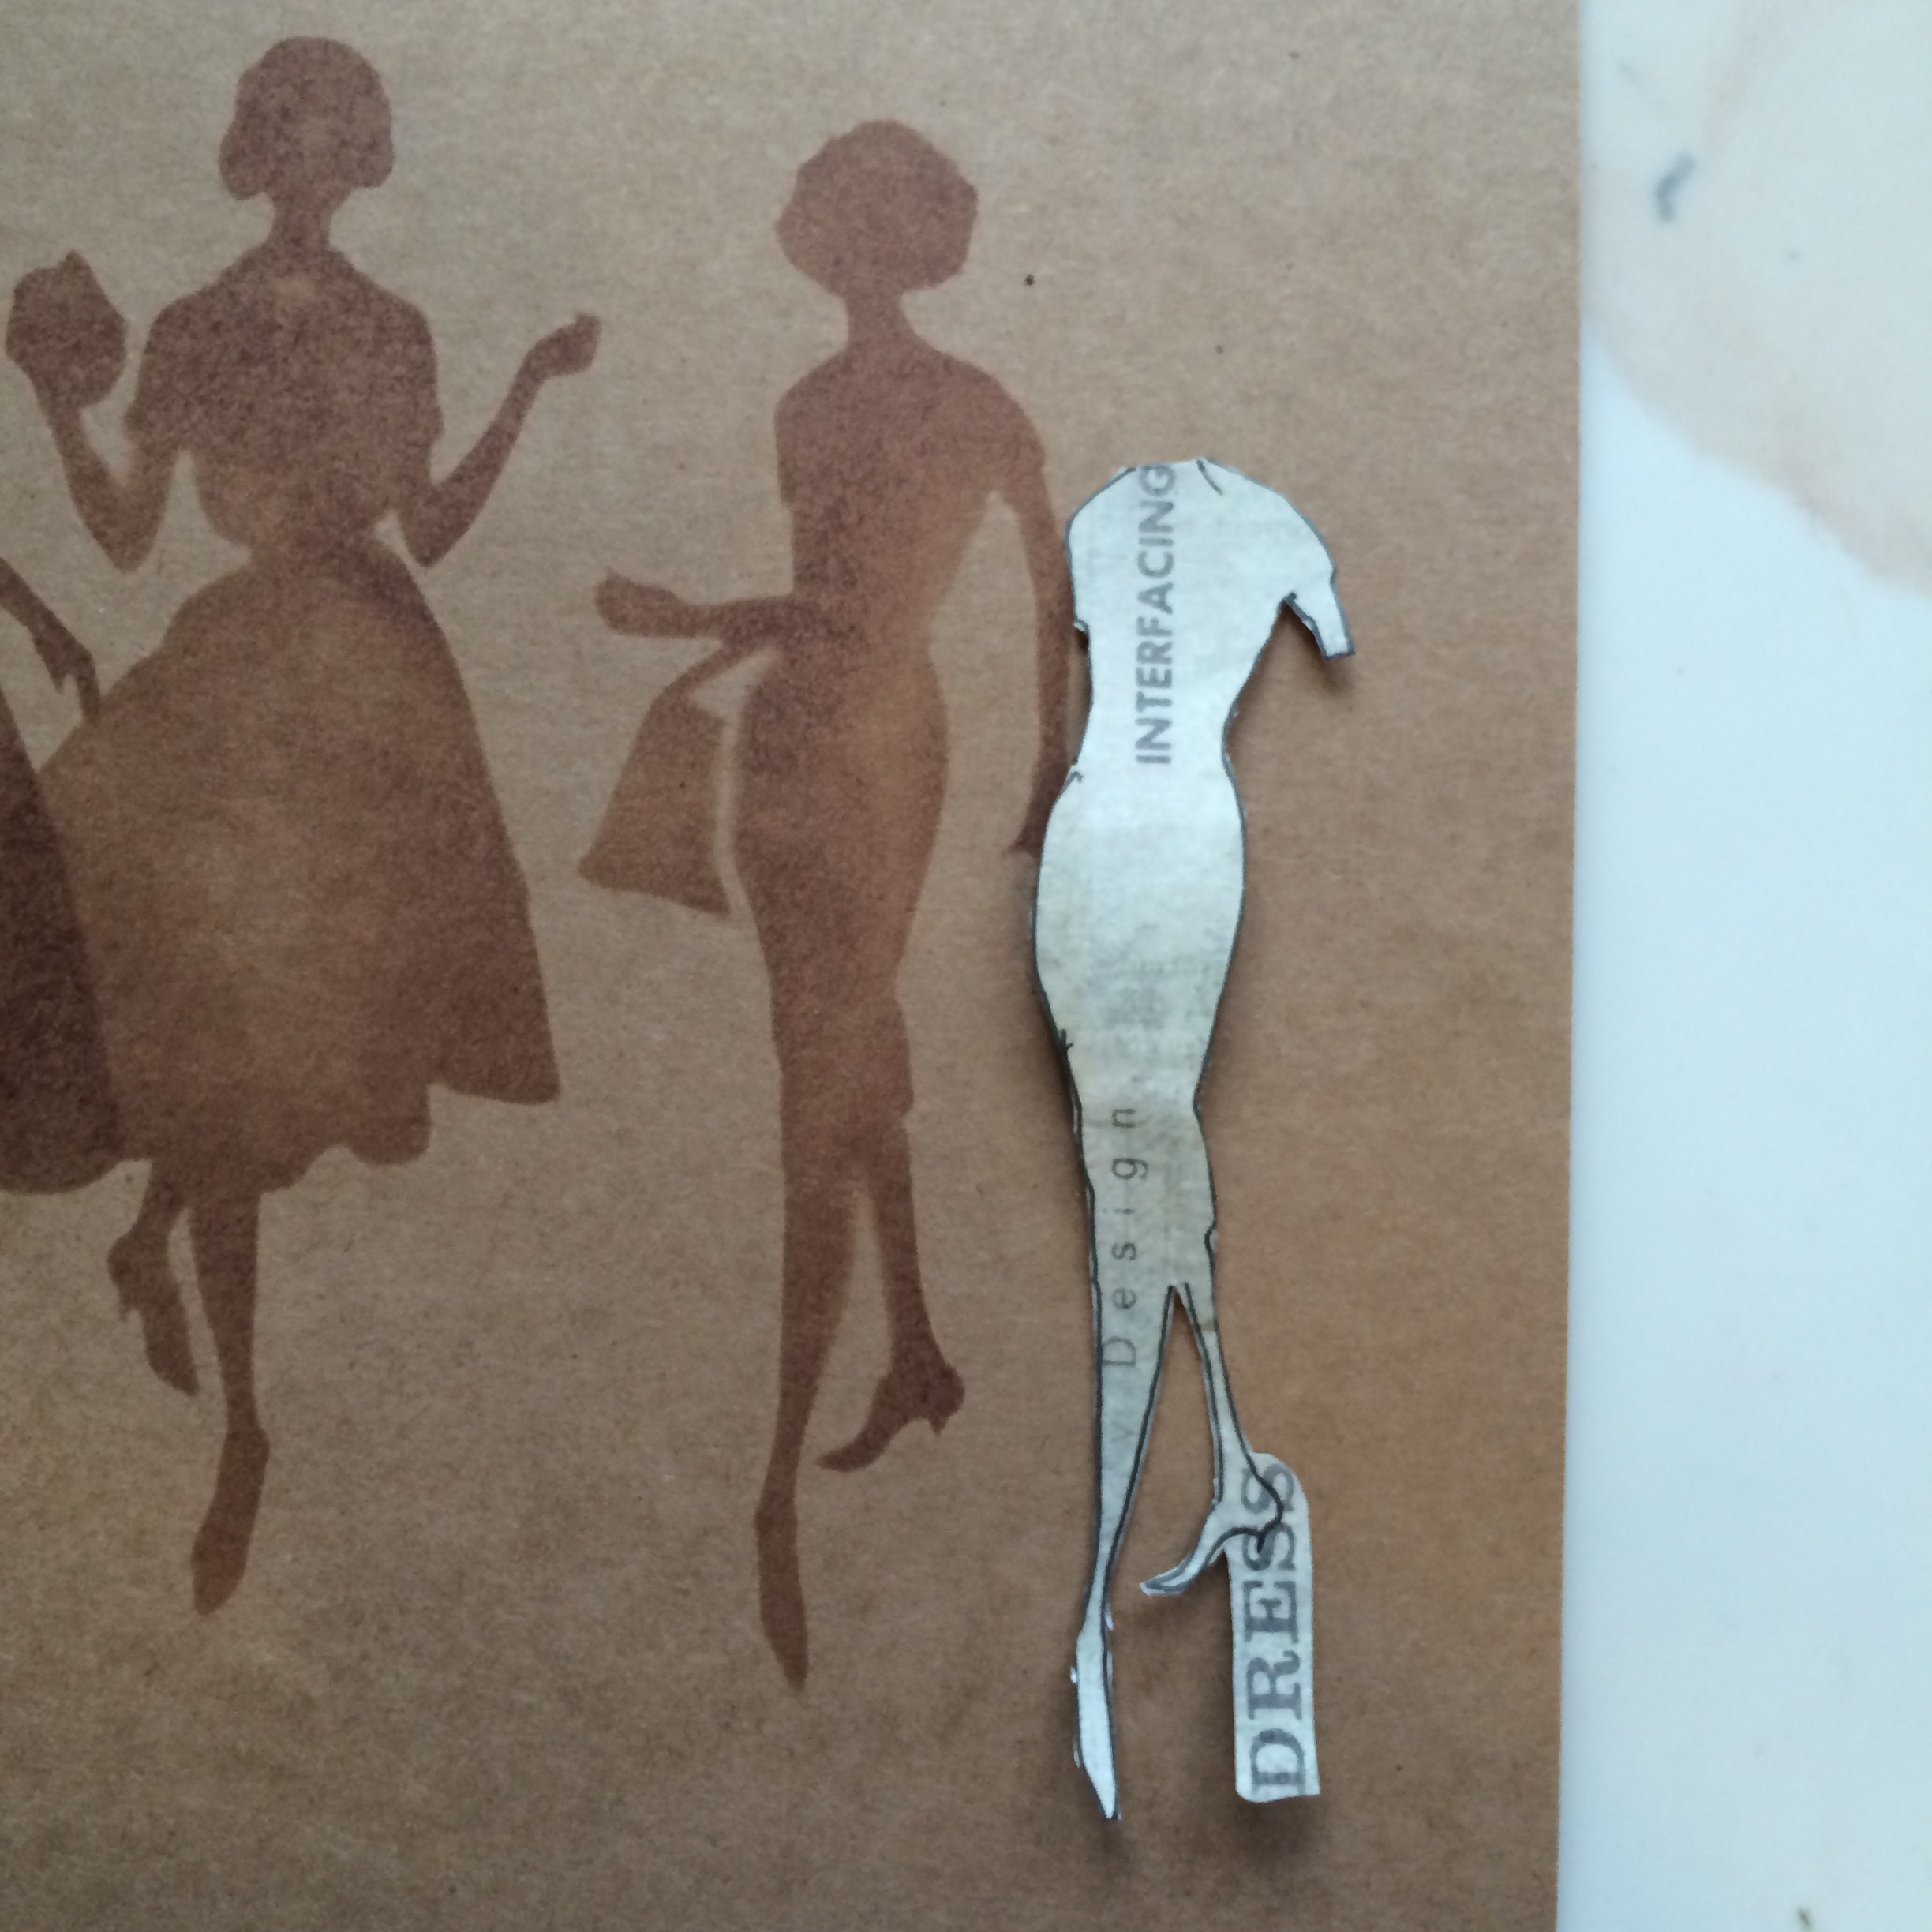
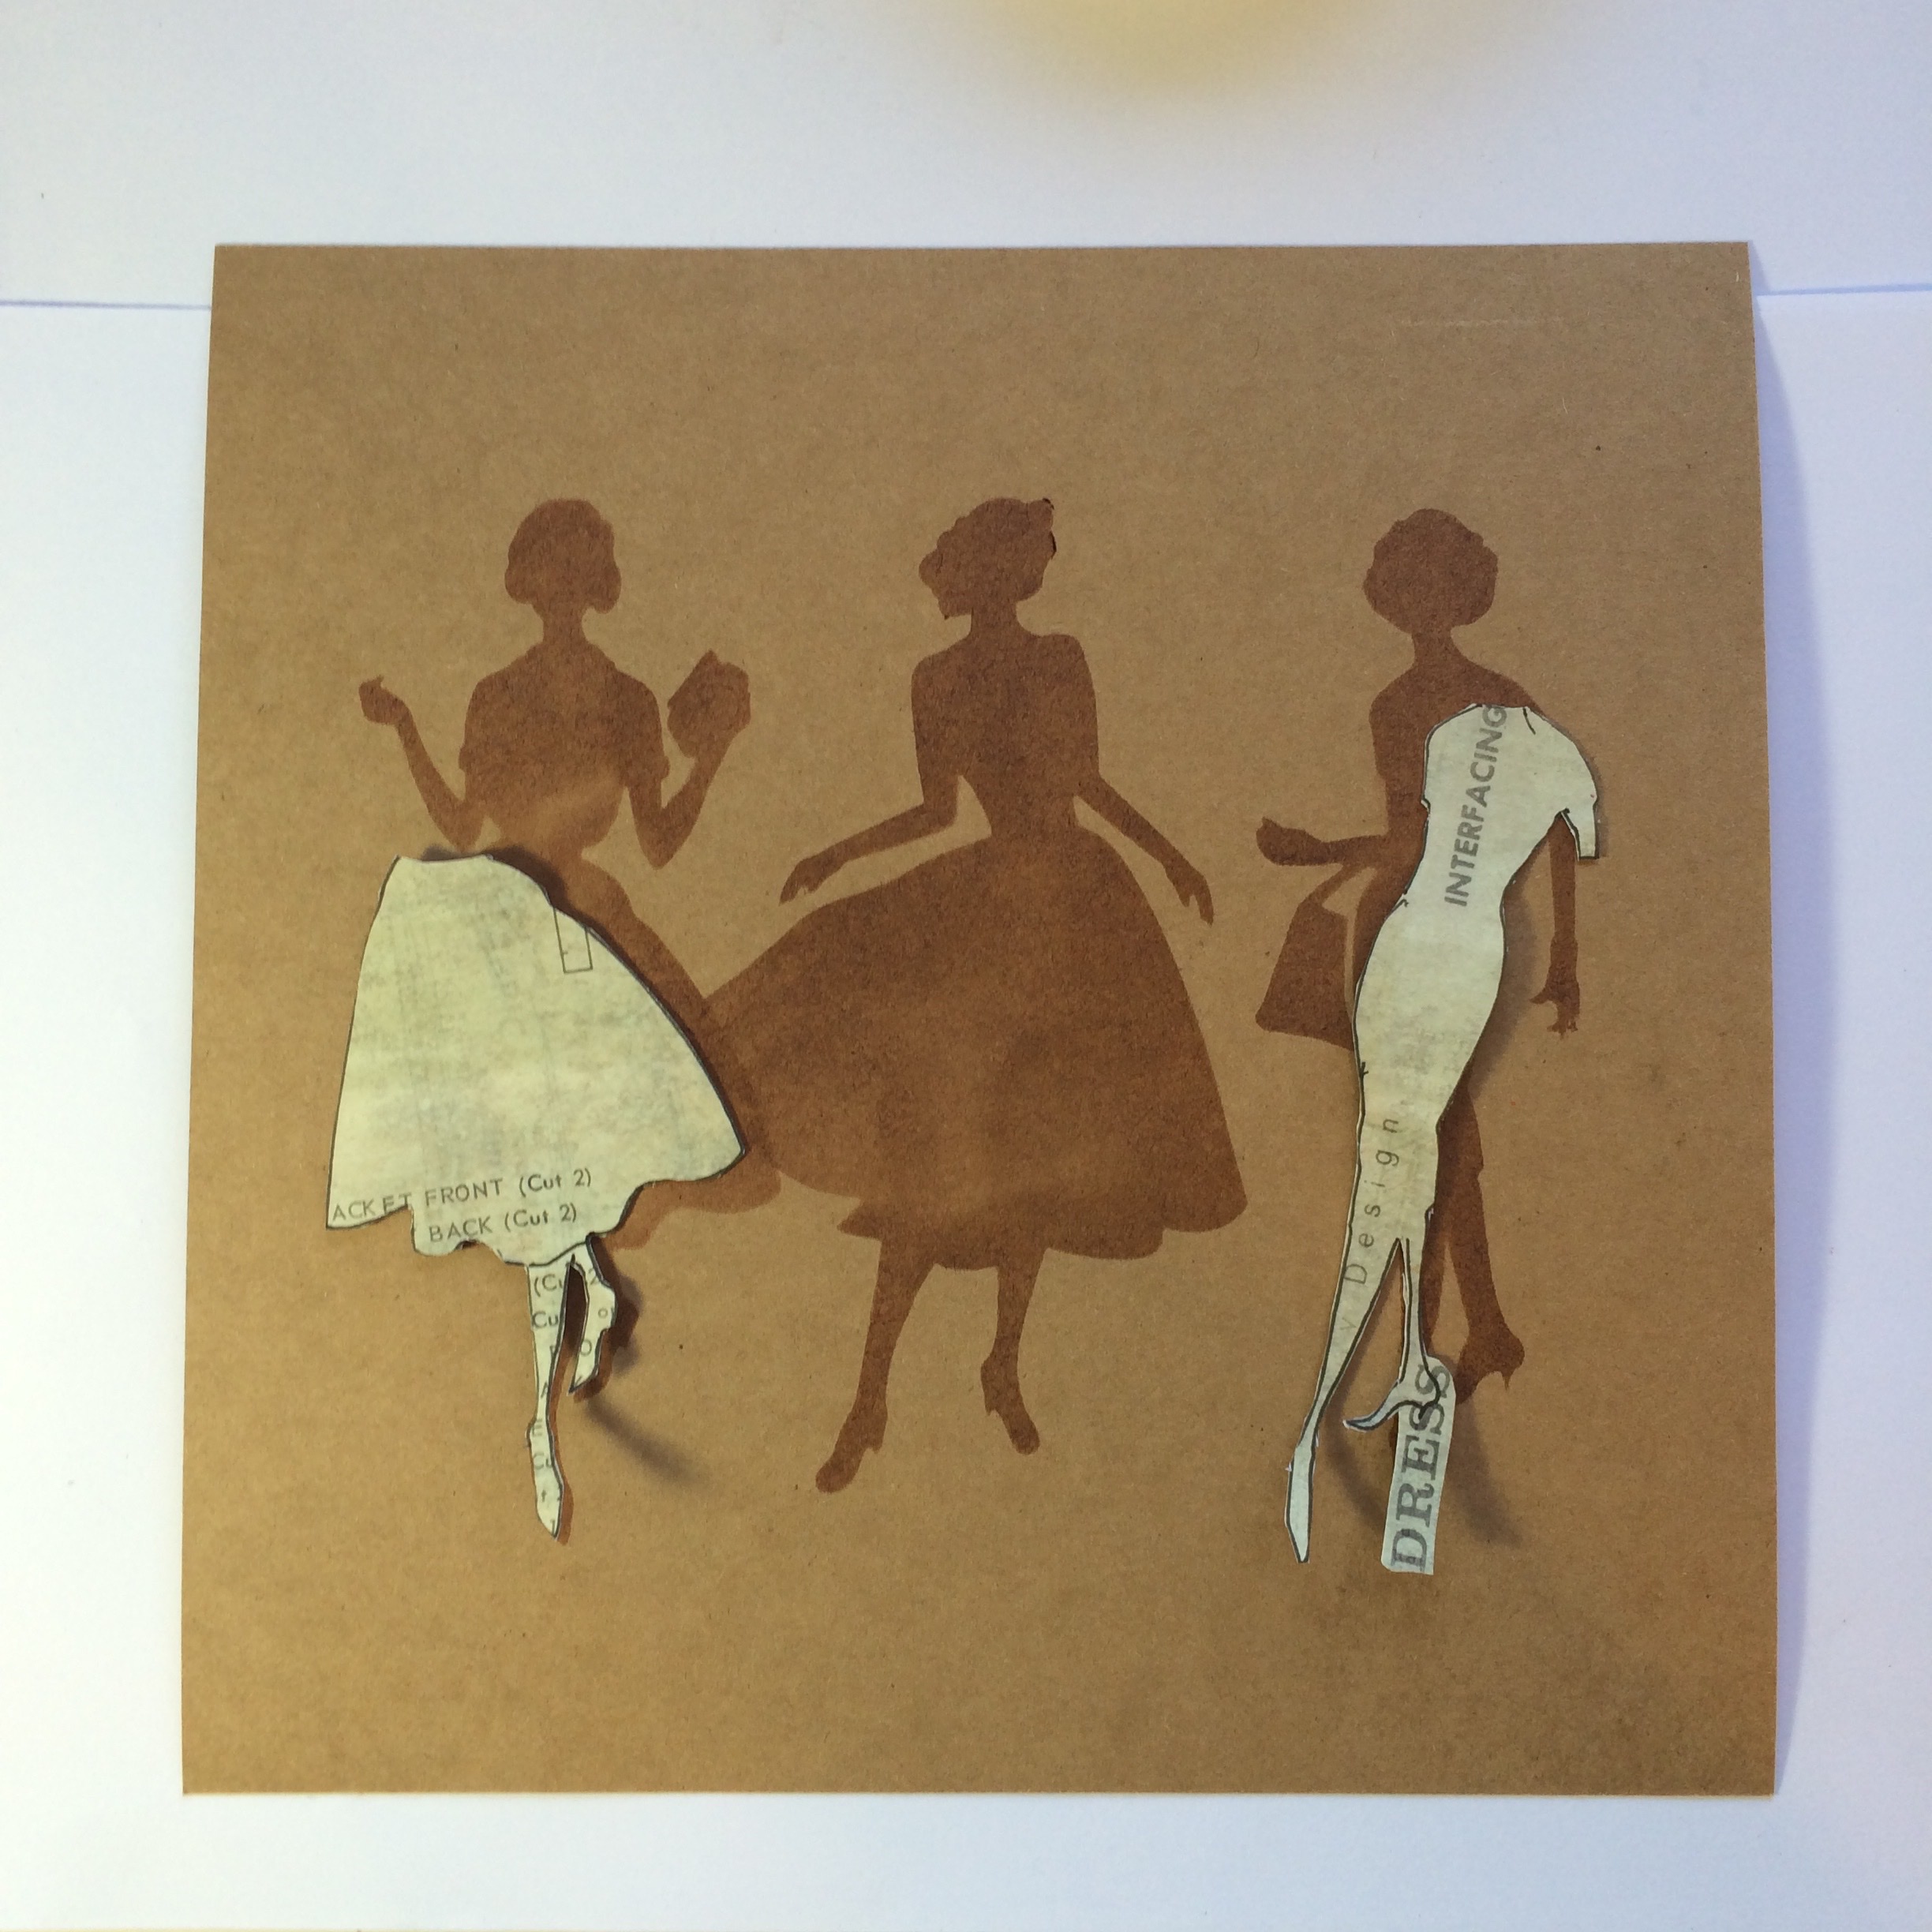
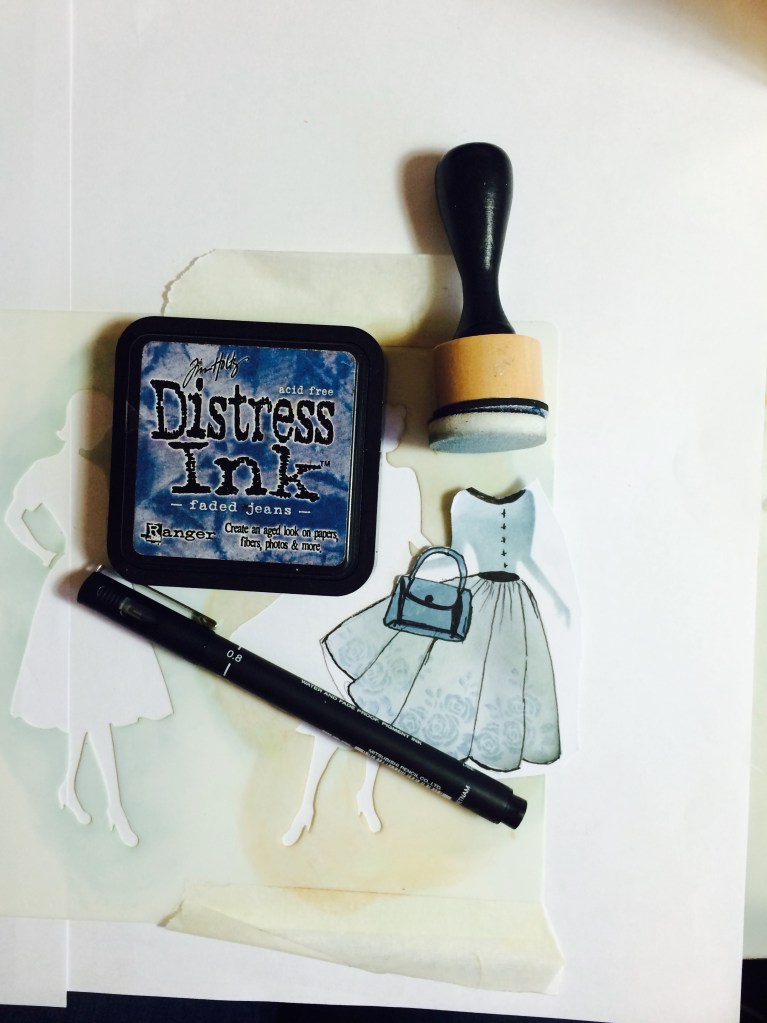
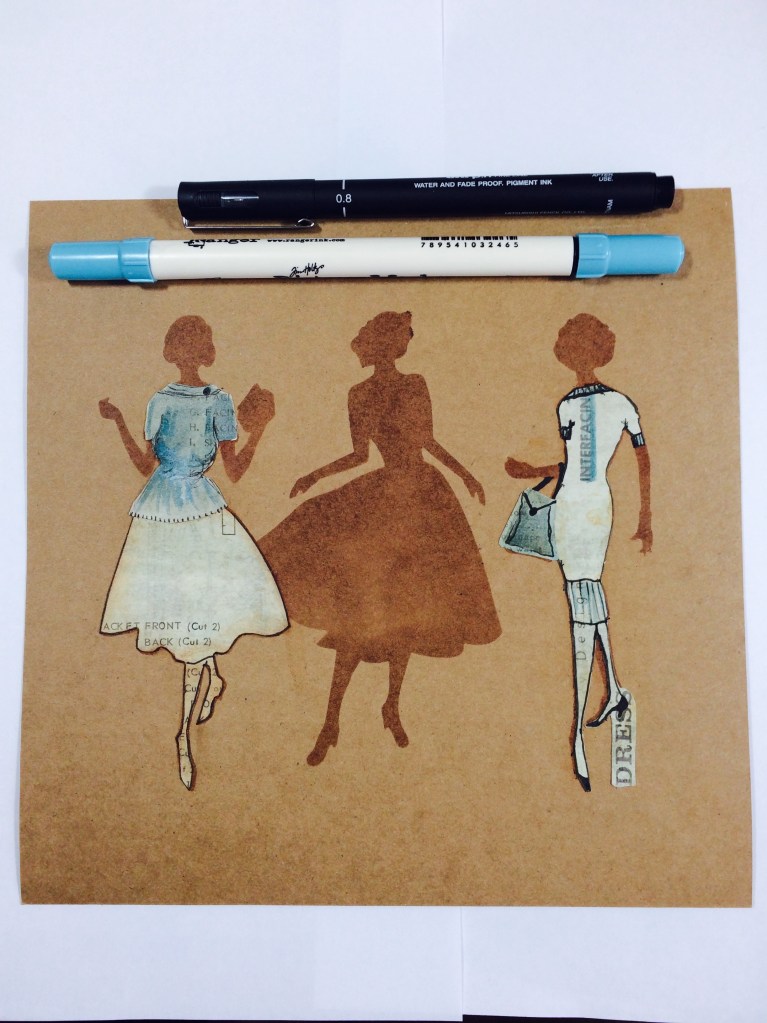
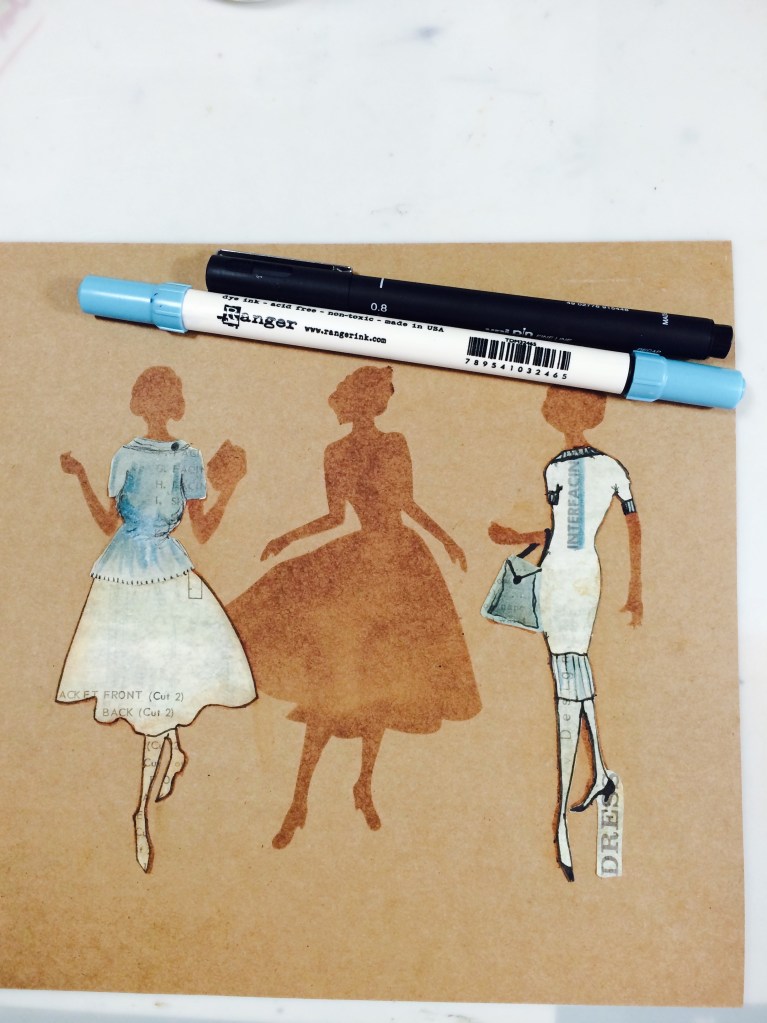
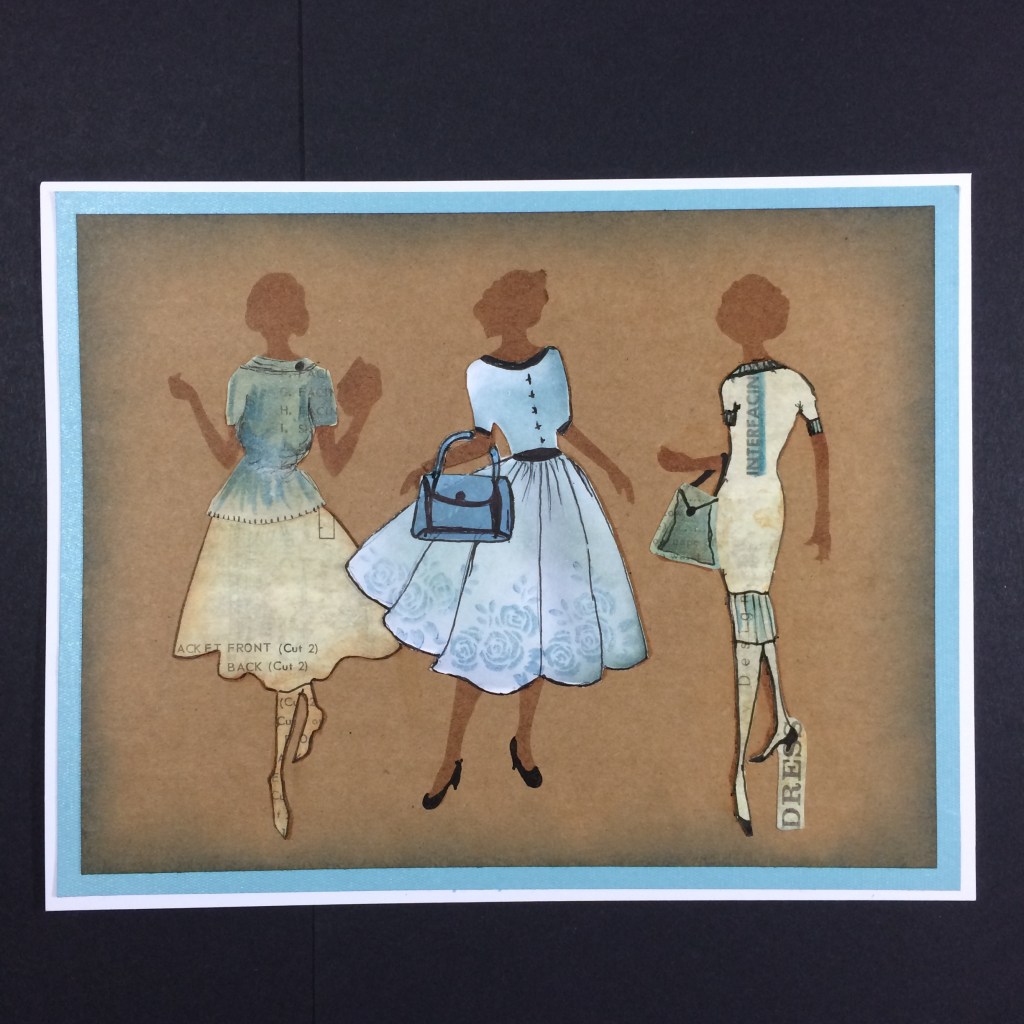
Take a piece of Claritystamp Buff Card – you can use the Card Packs for this. Using @Ranger @DistressInks – Vintage Photo – Blend through the Stencil to give the Shadowed Background.Do a bit of light and dark shading, especially in areas that will show once she is dressed. Put the @Claritystamp Stencil over your paper/card of choice. I have used – Elegant Ladies 3 – Stencil here. We all have 12” by 12“ Scrap Papers that we don’t use – we do don’t we!! Or Clarity Backing Papers to use. Take the Stencil and some of your favourite papers and draw through the Stencil – as above. Look for some interesting areas, like the “Design” word on the Stockings on the right, or the “Interfacing” word coming down over the dress. These bits look great when you cut them out. Once you have cut out the “Outfits” Blend the edges with ink to make them darker, so that they stand out against the Background. You can keep legs with Skirts etc if they have bits of interest on them like this. You can also cut out the whole figure if you think she looks good enough. I say she, you can do this with Flower Stencils and Animal Stencils too. I just happen to love ANYTHING to do with Dress-form, or dress design. I used Vintage Photo to get the back image and to darken the edges. On this one I also used – Elegant Ladies 2 – Stencil So now you get to be a Dress Designer. I have cut this one out of plain white card and used some Claritystamp’s and Distress Ink to add pattern and colour to this particular dress. She is my Centrepiece. I also doodled around the edges and added a Belt, Collar & Buttons. I love doing this. So we now have the Lady with the Self Decorated Dress, not by her, by me!!! We also have the two Ladies with the Cut out Dresses – see how I kept the Word Dress attached to her heel when I cut her out, those little interesting bits again. You could actually use Barbara Gray or Leonie Pujol’s Stickers to make an effect like this. Start to place your cut out Images over your “Shadow” Image, so this is how we keep the Arms and heads etc! Ha that sounds odd when you read it out loud? I decided to give the Lady on the left a skirt and top instead of a Dress. You don’t always have to keep the images the same as they appear. I used this Paper, I loved it so much I never wanted to cut it up, but then its just a waste of a Sheet then isn’t it, if it sits in a container never to be seen! It was perfect for this project. Ha ha look I obviously also thought about giving her a face from this at one point, actually it would have worked!!Didn’t we see this photo up the top???So back then I would have used Mod Podge to stick the cut out bits down, but now we have a better product that is more suited to card stock – Viva Decoupage, its great stuff. Don’t get me wrong Mod Podge is good too, but now I would use it on MDF projects mostly. I will add links in for you in case you want any of the product at the bottom of the Blog. Bottom?? Mmm should it be at the End of the Blog? Did I tell you? You can add in as many of her Mates as you like, I like to work in three’s, as we all know its an aesthetically pleasing number of items to be together, I called this Project, “Ladies That Lunch”. At one point I tested to see what it would look like if I coloured the backing paper with the inks too, on this occasion though I liked them mostly uncoloured, apart from the centre Lady for contrast. This was my favourite outfit. As you can see I drew around the edges of the Outfit to “Frame It” obviously I neatened it up a bit after this picture!!!!! I hope I did anyway. So this is two outfits. three Outfits and Three Ladies! We must nearly be there! I downloaded all the pictures at once as they were already in order but I haven’t seen the end myself yet! So as I had coloured the middle dress in Blue I decided to highlight the outer Ladies outfits a little. That top on the left hand side took me absolutely ages to make! I may as well have sewn it up it would have been quicker. I knew what kind of top I wanted it to look like, but fitting it over the skirt was difficult. I added the Cuffs Neck and Hemline to the outfit on the right too. Told you, playing the Dress Designer is the best bit of this project. Its funny because way back when I made this card I was really self-conscious about drawing over the dress on the right. I felt my doodles were scruffy like my writing is. Oh don’t talk to me about how self conscious I am about my Writing!!! That’s why I taught myself to type at the age of 13. Yes back in the days when Typewriters were so Modern! But now I wouldn’t have any problems about just doodling over a DT project. Look at my Latest Stamps?? I always loved those shapes then but I would never have had the confidence to hand them over. So if you feel the same, let me tell you, be confident, tell yourself you can do it and don’t listen to your negative side. Oh here she is all glued up! Obviously, or maybe not to some, you glue the back of the outfit and then glue the card where you are placing it. Glue sticks to glue a lot easier than glue to card. This is why we like Viva Decoupage Glue, it doesn’t leave any marks if you go over the line. So there you have it, Ladies That Lunch. I added shoes in the centre. Now I can’t draw shoes, but if you think it, the pen shapes it. Honestly, try it.
All the products I used can be bought at Claritystamp.