

As there is a Clarity Sale coming on at the moment I thought I would show some images of cards I have made over the years using some of my favourite Clarity Products. So the cards I will be talking you through are some of my favourite DT Samples. When I say favourite, it is OK to like your own work but really I mean in terms of the time and effort I put in, or the surprising outcome, or the ones where I feel I have managed to show to the full what you can do with the product..
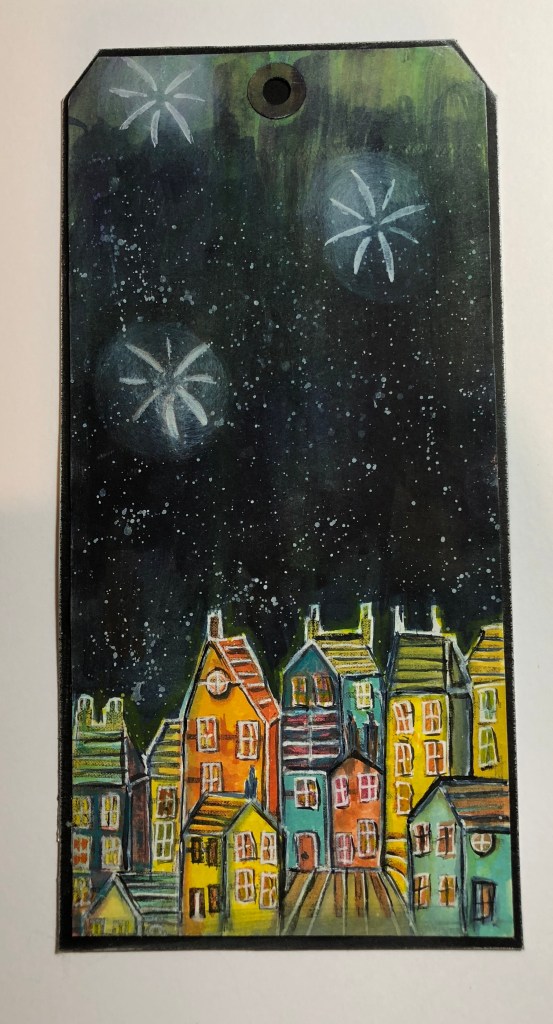
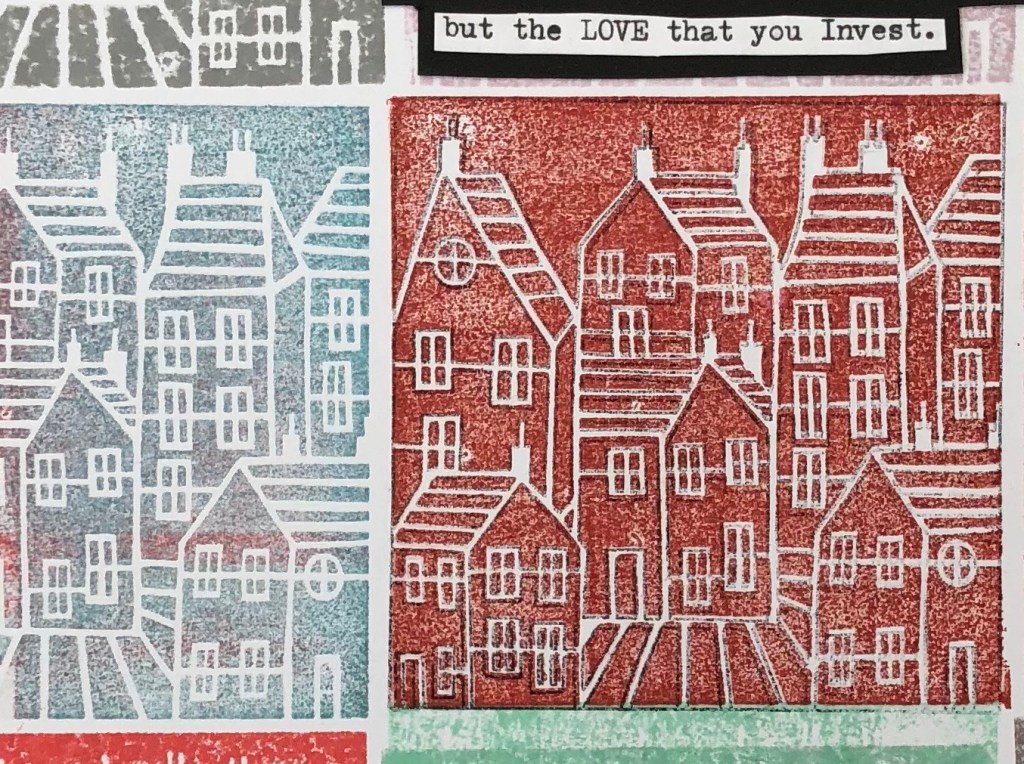
So firstly I am going with House Stencils – some of my all time favourites. I love our House Stamps too but today I will just show the Stencils. The first three Images are the Same Stencil, the middle is a close up because I hope you can see that there are lots and lots of layers over the Grunge Paste to get the depth of colour. I was hoping to give it an aged building look, the type you see abroad in beautiful little towns and villages. The rest of the images all done sing different techniques and I really enjoyed making all of these samples.
No designer is ever offended when you change the look of a product, like a Stencil for instance, you might design it for a certain thing but it feels great when you see someone has done something you would have never thought of with one of your stamps or stencils. I did used to worry about the ethics of this. But in Mixed Media all we seem to want to do is what something is NOT intended for?!
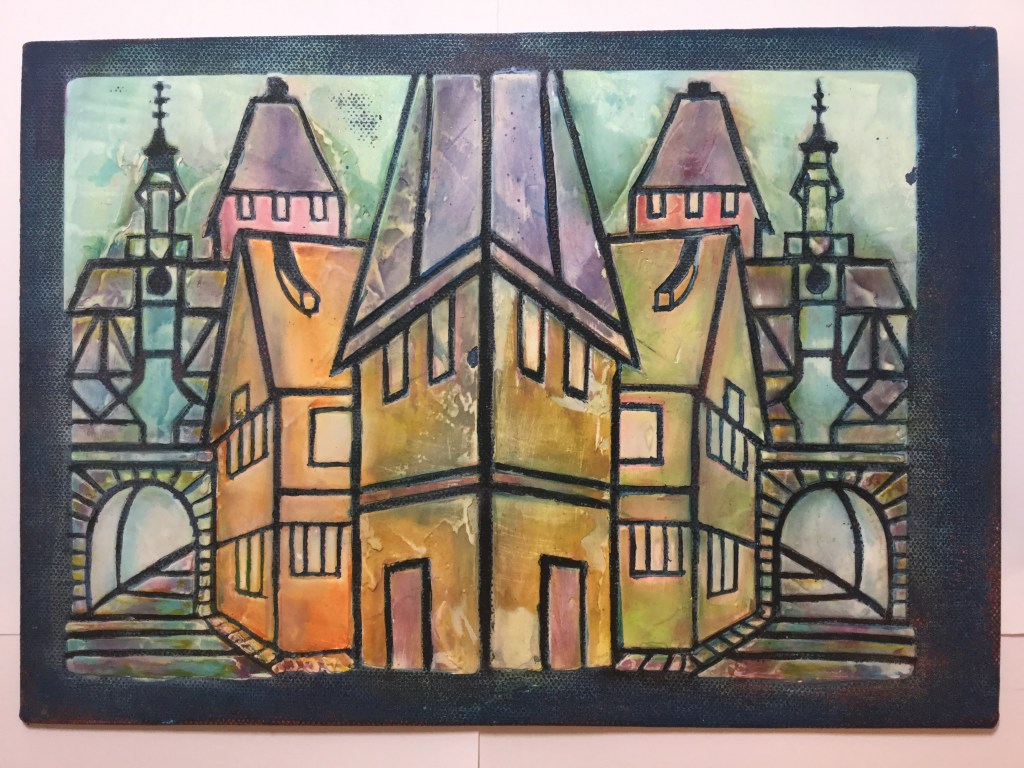
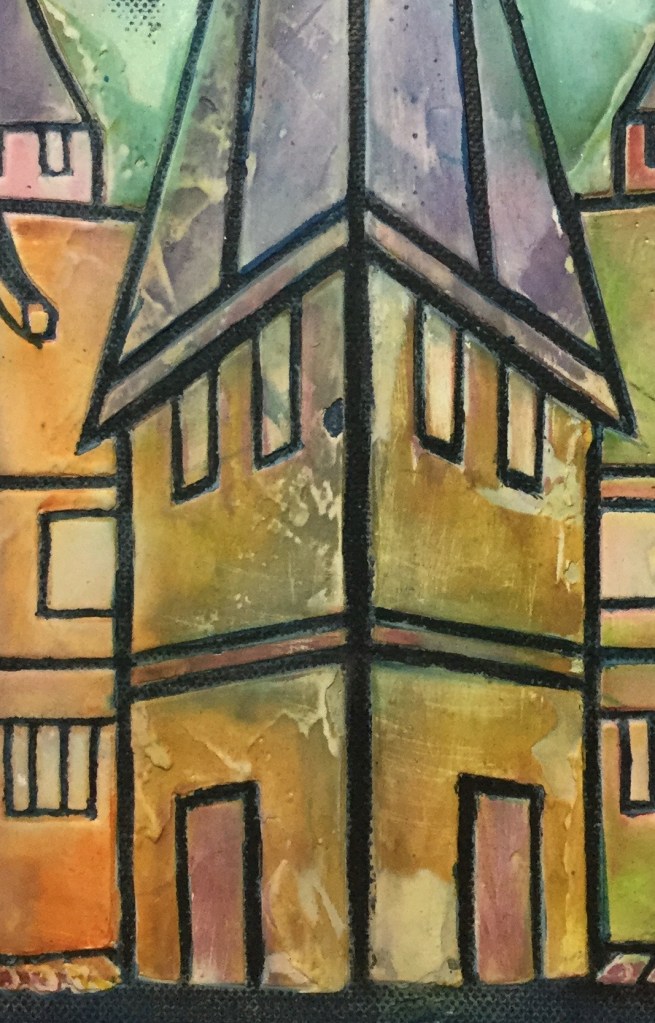
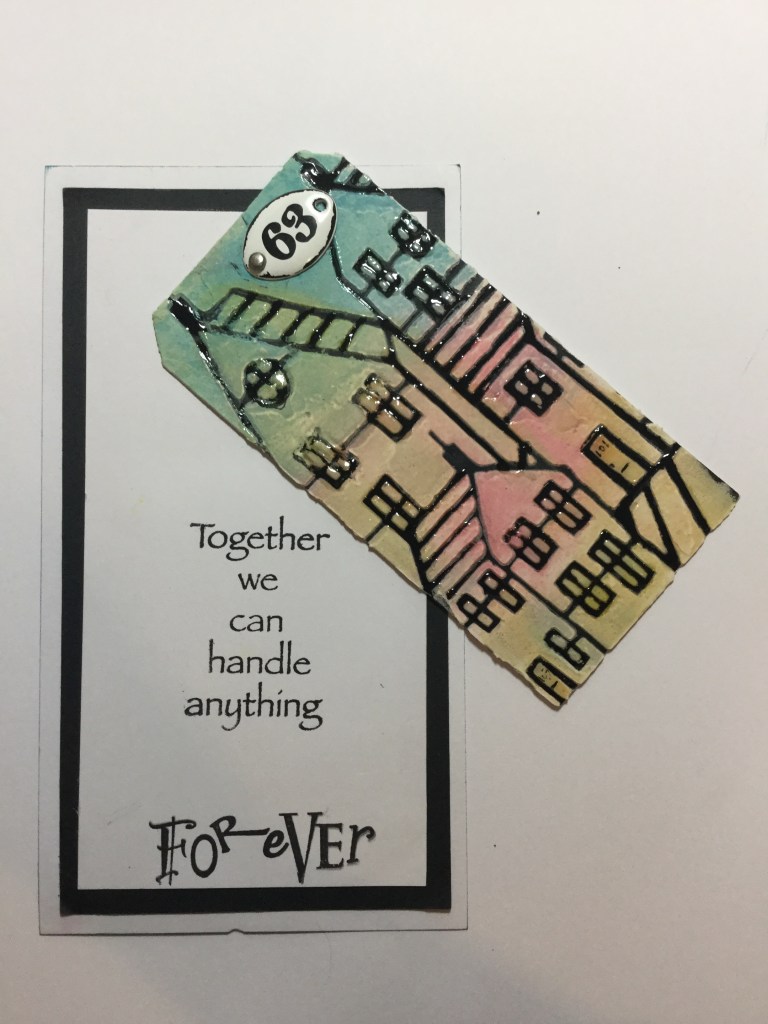
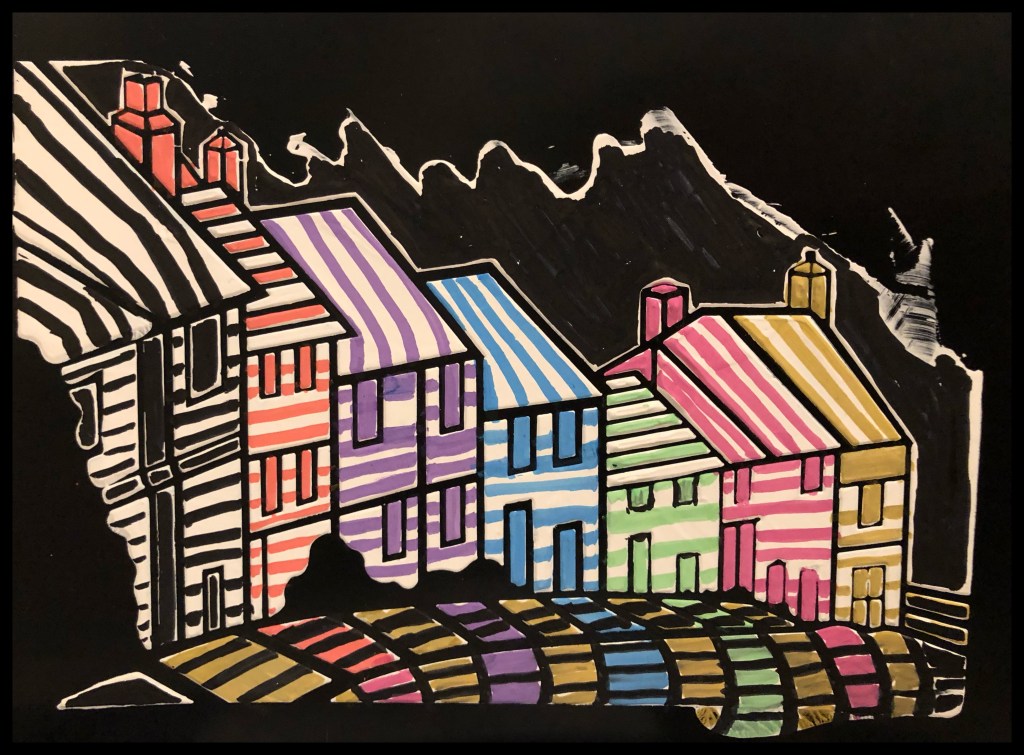
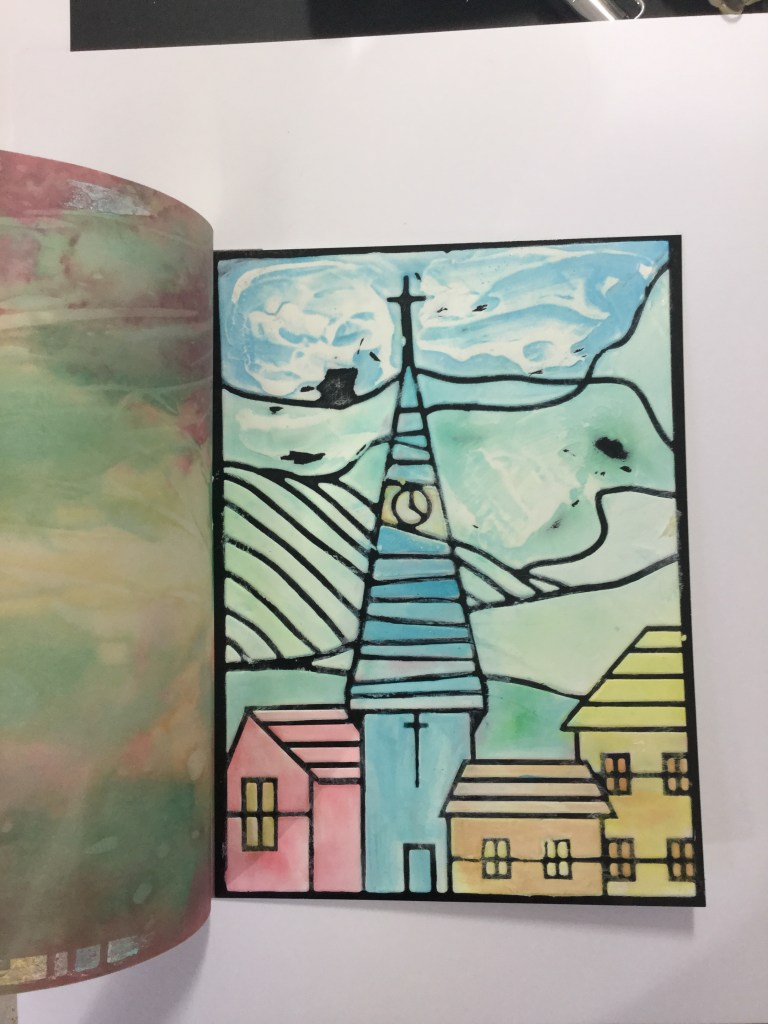
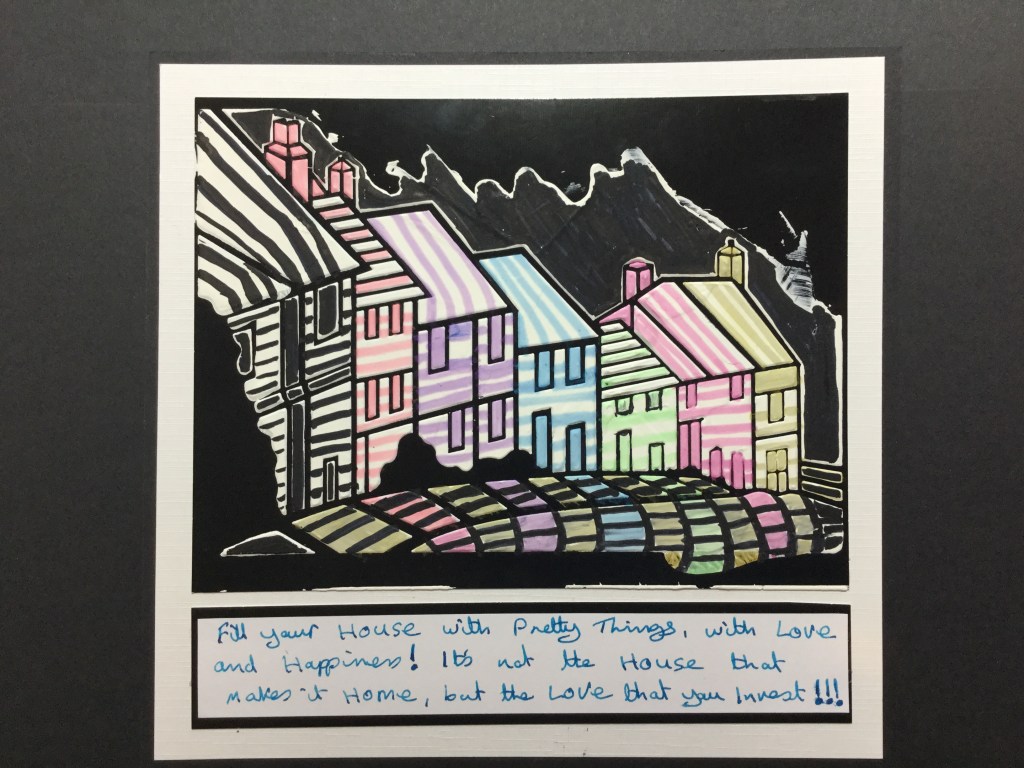
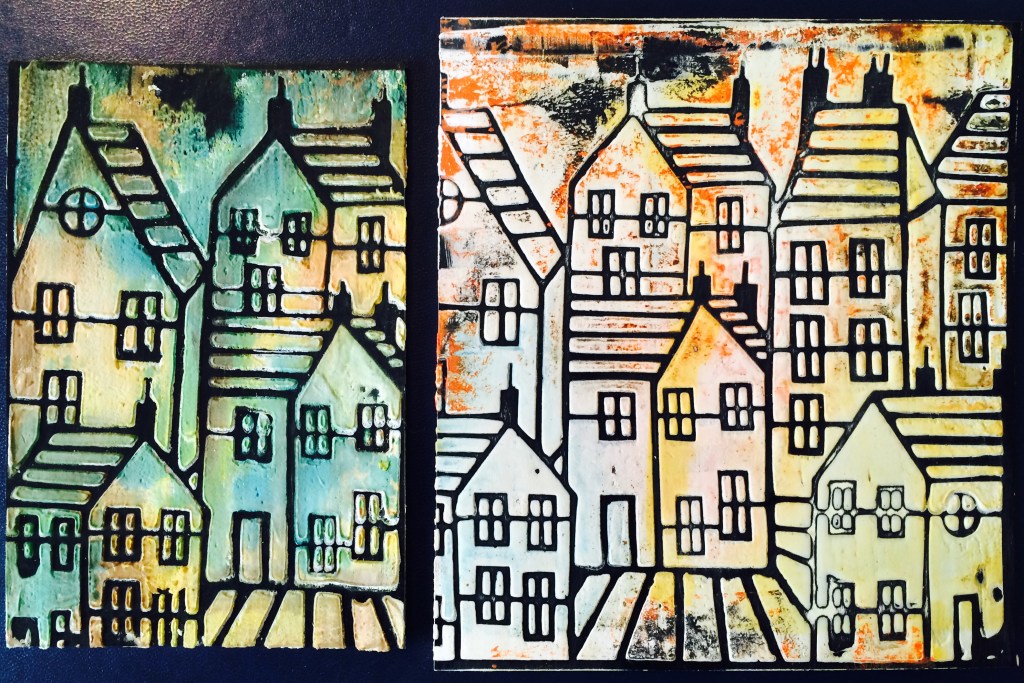
So the 1st 3 images in the gallery above are the same Stencil. Obviously the middle image is a closeup of the 1st image. In both of these samples in the top row I have used Grunge Paste and they are coloured with Distress Ink Re-fillers and a cloth / sponge. I really love this image and would like a copy of it for myself but to be honest with you, to get the depth of colour and layers over the Paste, this card probably took me on and off about 5 days. I had to keep letting it dry, sanding it down and starting again with the Ink. But with this method you just leave a little bit of the ink behind on each layer. Till you get a full build up of distressed colour. After that I did some touch ups with a craft knife to pick away at the painted areas to get the rough look in the Paste. On this Card I also reversed the Stencil and attached it to itself. So the image below shows where I have reversed the Stencil and turned it into one building.
I particularly spent many many hours getting the two stair cases to match in colour because I had made the mistake of not working on them both at the same time. But while I made this card I wandered off into thoughts of lovely holidays we have had exploring towns and villages and Churches.
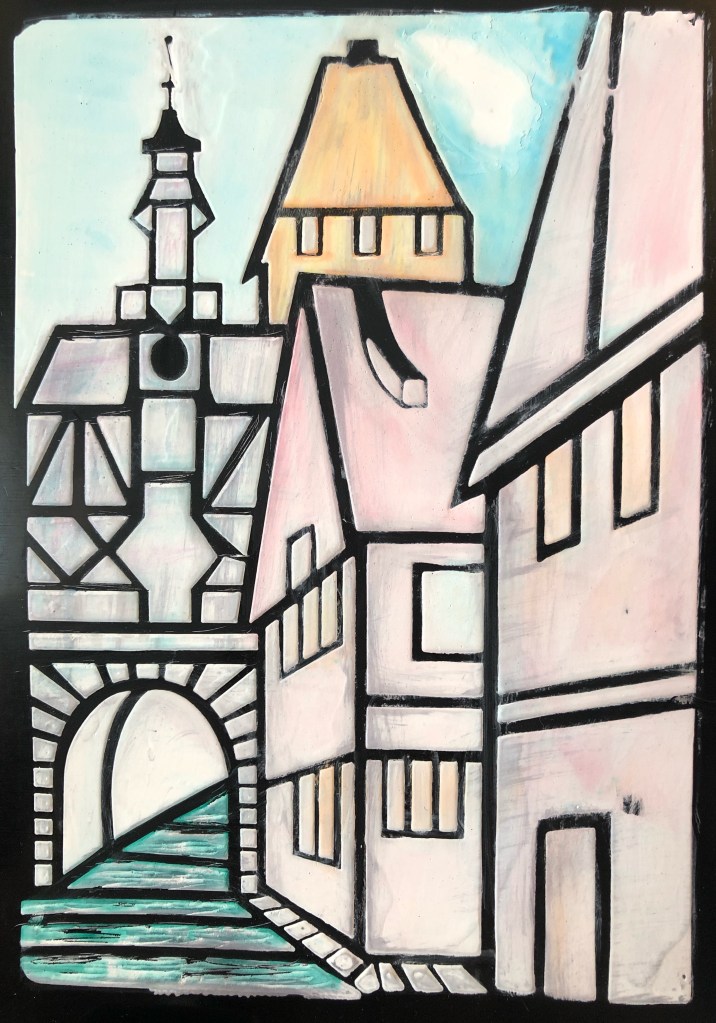
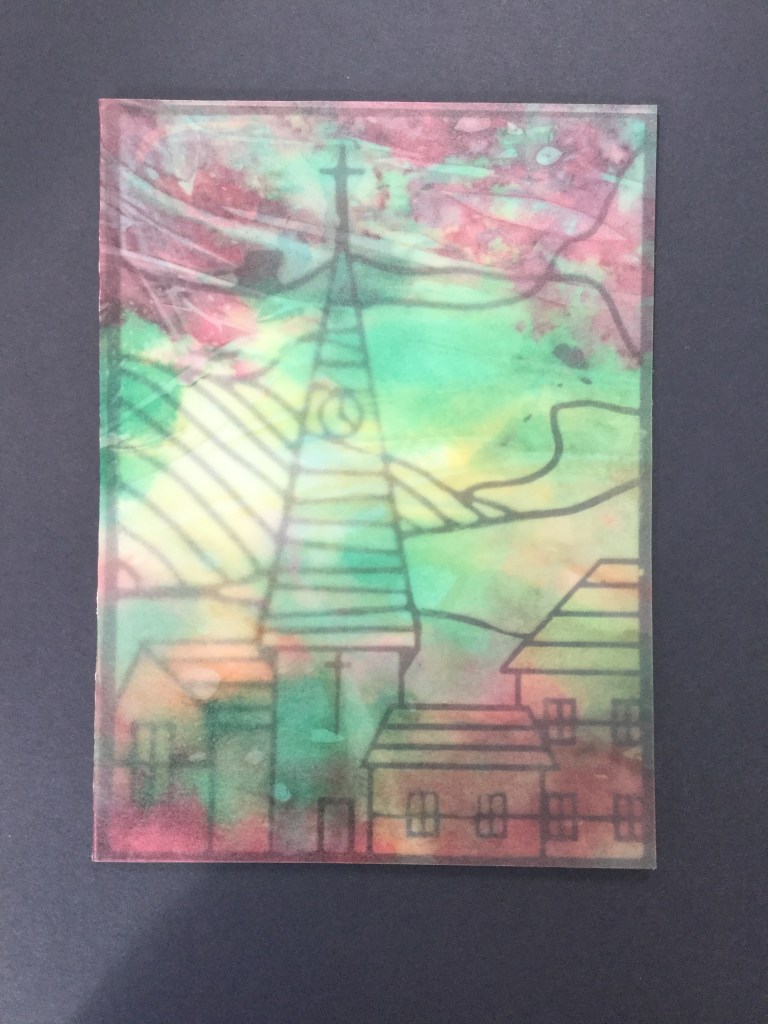
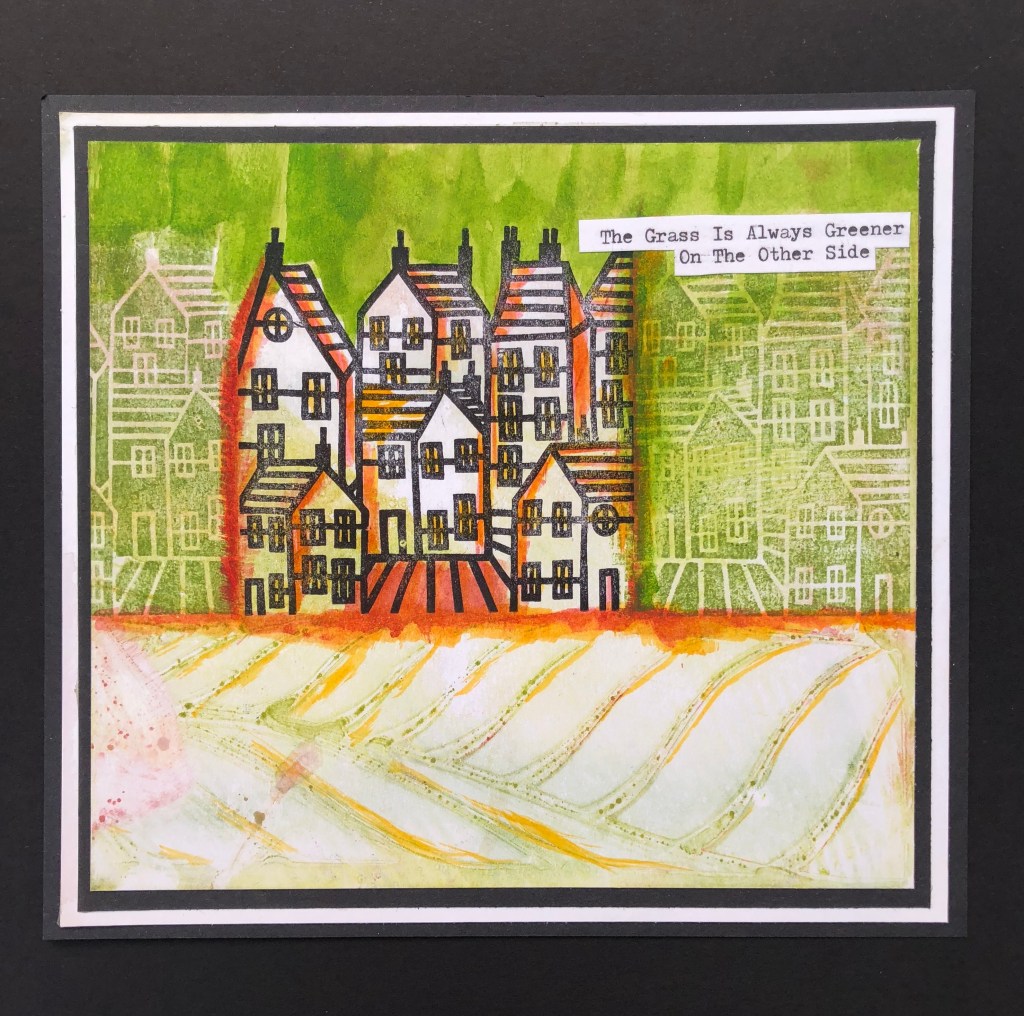
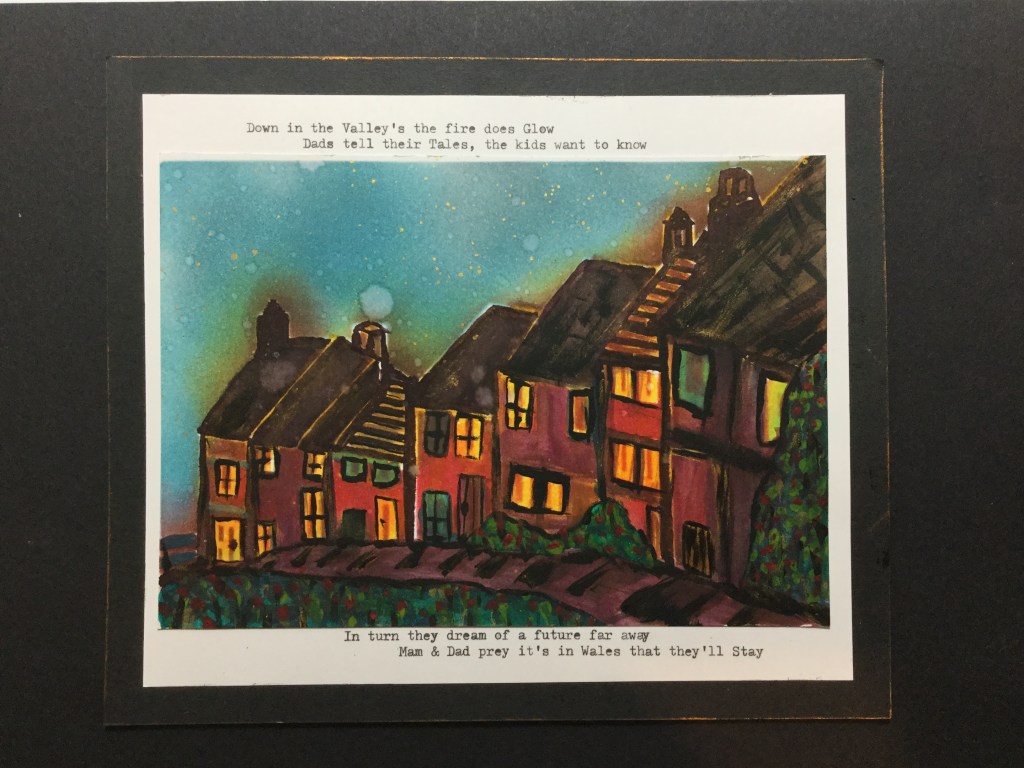
This Card below is made using the Whole Stencil so here you can see where it begins and ends. Again I put Paste through the Stencil and using a wet wipe and Distress Re-Inkers I rubbed on the colour and rubbed it off, and repeated this several times. Then I sanded it down and just kept repeating this process until I had enough colour and shading to make it look like an old building but a prettier version. I then did some dabbing with a Paint Brush to add some finishing touches. You can see at the front section there are some brush marks in the Darker purple where I flicked the brush to get a stressed look.
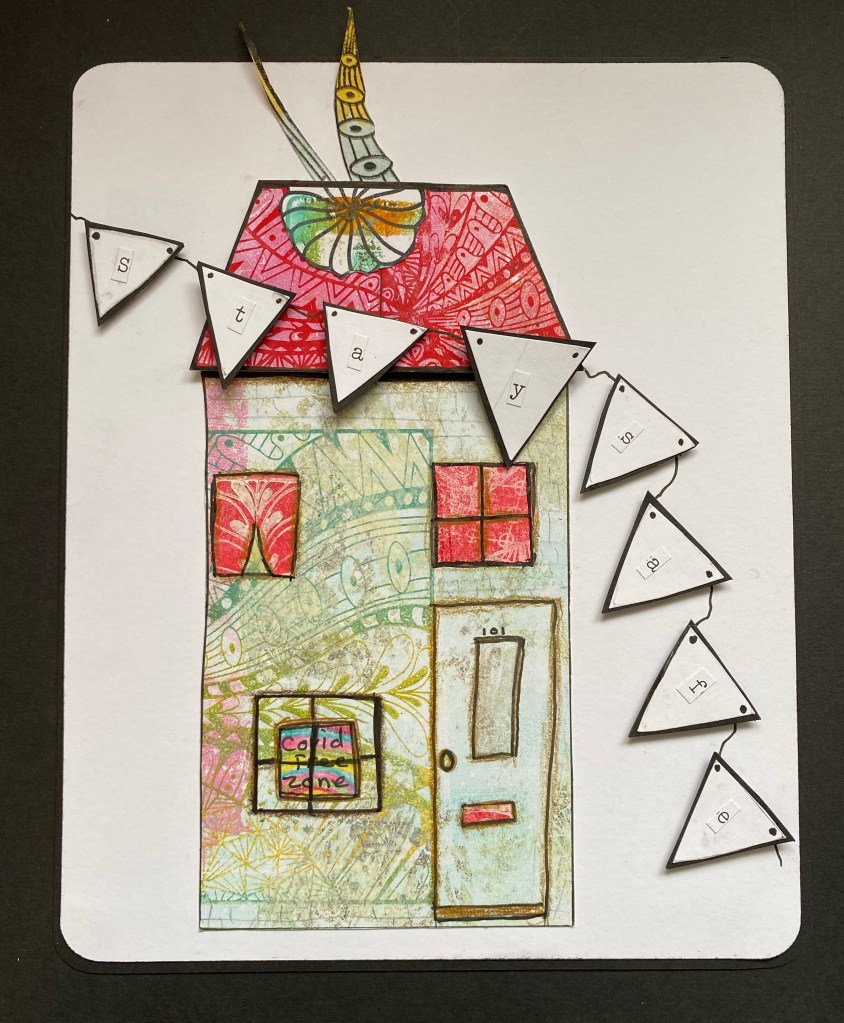
https://claritycrafts.com/search?type=product&q=Sams+shapes
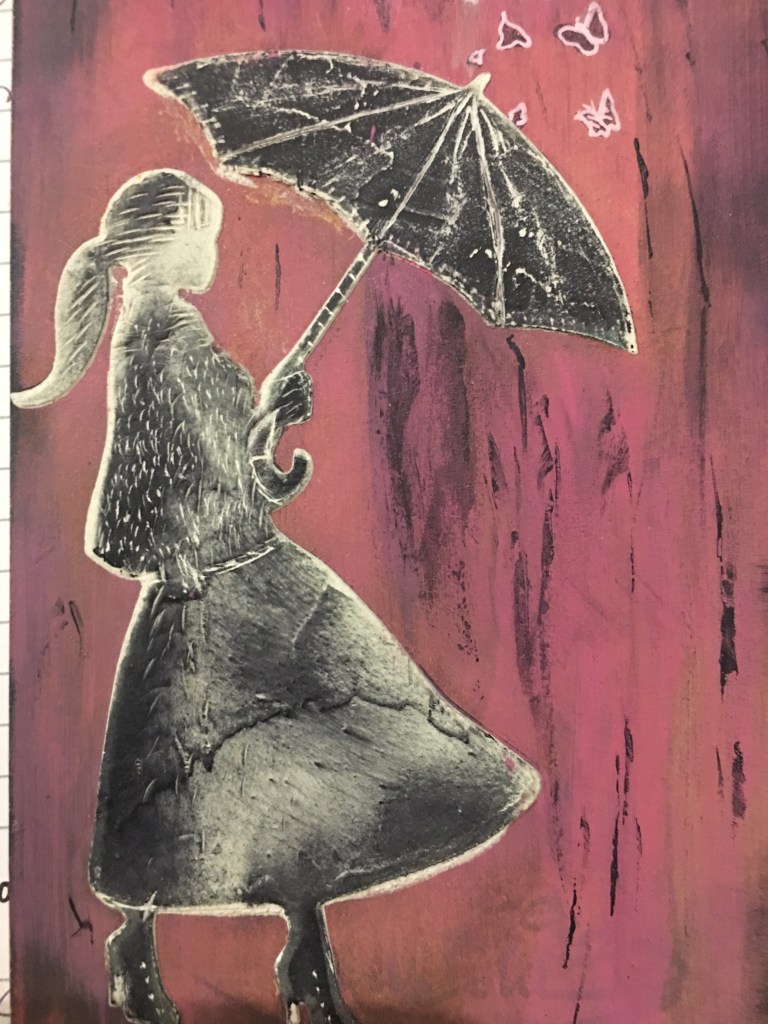
For the girl I used a similar technique again but this time I put black paint over the Paste. I put the Paste on roughly to give some texture to the fabric of the skirt and shawl. Then I painted it black – but roughly and with a wet wipe so that there were some white edges and patches. Then once it was completely dry I used a craft knife to scratch out her hair, and the fur on the shawl and bone on the umbrella. On the skirt I did a little sanding with a very fine sand paper. This is actually on a Tag and the background is rough painted with a Clarity Flat Brush.
So I think I will leave it there for this Blog but I am hoping to Blog a lot more samples during the Clarity Sale. I was looking through some of my photos and I have so many that I haven’t really shown or done tutorials on. Even those I have I want to make some fresh videos and mini clips. It’s been a long time since I did any workshops and all these images and techniques I have done over the years are just sitting on my Ipad so I may as well share them and turn them into tutorials on my YouTube – it does take time though so please bear with me. 1 Video at a time!
Sometimes these sample cards take me days to do because I like to push to the limits with techniques. When they take me a long time I just get lost in the project. It’s lovely to go off to that place where you aren’t thinking about what to do or who the project is for, but are just enjoying the discovery. Sometimes I am so surprised at what I have achieved at the end. Like this Girl above for instance, I am so Proud of her. I can’t draw but to me this is another form of drawing and I was surprised that the Shawl and her Hair looked exactly how I wanted them to look.
So a lot of my Mixed Media products have dried up because I haven’t done as much over the last few years. So once I stock up again in the Clarity Sale I will make a video on the House and GelPlate technique and post it here and YoutTube. I love this technique and could just do it over and over again. It takes no time at all to get the initial effect either, then it’s up to you how much you fiddle with it.
Here is a link to the Claritycraft Website and the Stencils I have used
Clarity Houses https://claritycrafts.com/collections/stencils/theme_houses-home
Stencil. https://claritycrafts.com/collections/stencils/products/umbrella-girls-stencil-7-x-7
Paste https://claritycrafts.com/products/viva-decor-relief-paperpaste?_pos=16&_sid=69f5fe990&_ss=r
So I will be back very soon.
Bye for now – Sam Crowe
